


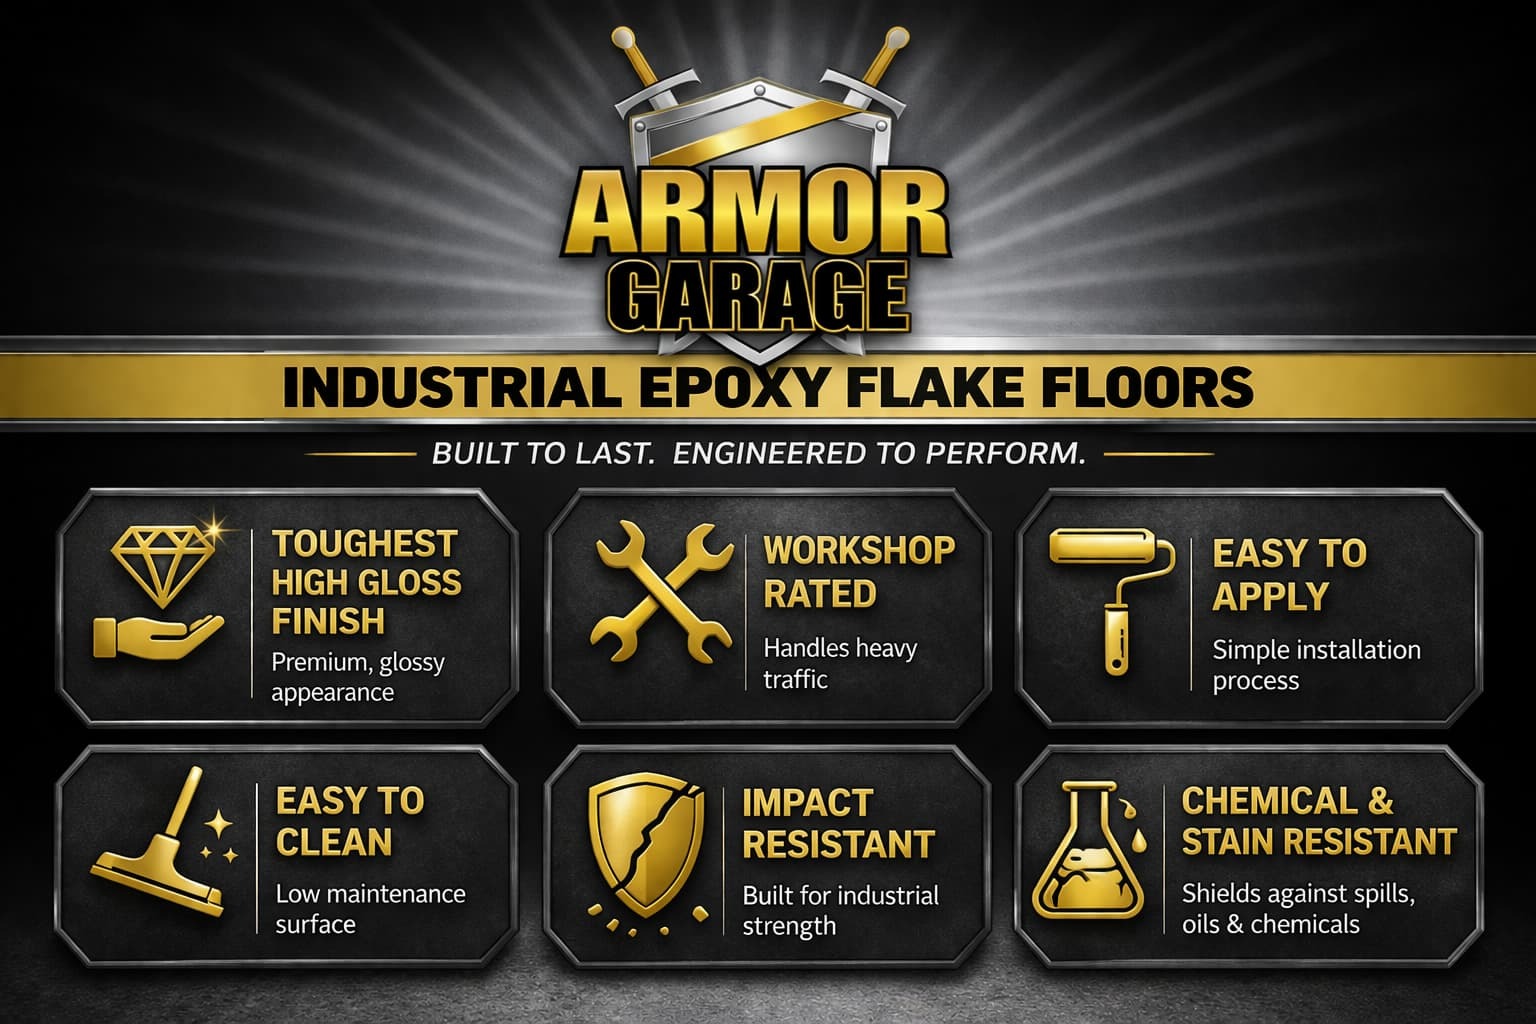
Military-Grade Industrial Epoxy Flake Floor System
Industrial strength epoxy flooring with style. Upgrade your facility with decorative color flakes while maintaining extreme durability. Choose your coverage level based on desired appearance and performance requirements.
Three Coverage Options:
Medium Flake
75% Coverage
Shows base color, easiest installation
Heavy Broadcast
90-95% Coverage
Recommended: Near-full coverage, base color as accent
Full Broadcast
100% Coverage
Complete flake coverage, requires 2 topcoat layers
Heavy Broadcast Recommended: Provides near-identical appearance to full broadcast with easier installation. Base epoxy color becomes an attractive additional color element, and you avoid heavy scraping/sanding required for full broadcast applications.
Full Broadcast Installation Note: Requires heavy scraping after flakes cure and may need sanding depending on application thickness. Two topcoat layers needed to fill additional thickness created by 100% flake coverage.
Not Just For Industrial Floors!
Zoomie Time — French Bulldog Breeder, Arkansas
This breeder needed flooring tough enough to resist sharp puppy claws, constant washdowns, and look amazing. They chose Industrial Epoxy Flake Floor System for their 900 sq ft facility—and completed it perfectly on their very first epoxy installation.
First-Time User, Professional Results: When we say "no prior experience needed," we mean it. When we say "versatile enough for any project," we mean it. This stunning floor proves both claims.
Installation Details:
Base Color: Medium Gray epoxy
Flake Colors: 2 lbs Teal • 2 lbs White • 2 lbs Amethyst • 1 lb Hot Pink
Coverage: Heavy broadcast (recommended)
Performance: Resists sharp claws, constant washing, heavy traffic

Simple Ordering Process
Like our non-flake packages, this ships with everything needed to prep and install your floor coating. Complete turnkey system designed for first-time users.
Step 1: Enter Square Footage
Enter your floor's square footage as quantity. Add 10% safety factor since concrete porosity varies—some slabs absorb more material than others.
Step 2: Select Coverage Level
Choose Medium (75%), Heavy Broadcast (90-95% — recommended), or Full Broadcast (100%).
Step 3: Choose Flake Colors
Option A: Select a pre-made color combo from the dropdown list
Option B: Create custom combo by entering flake names and product numbers from our Flake Color Chart into the Custom Flake Color Order Box
We handle the rest— packing everything you need in proper quantities and shipping ASAP.
Popular Epoxy & Flake Color Combinations:
- Classic Gray Bases: Black + White + Light Blue
- Bold Gray Bases: Black + White + Primary Blue
- With Accent: Either combination above + Red accent
- White Base: Your choice of any flake colors
- Tile Red Base: Tan + Black flakes (recommended)
Complete Turnkey Package: All prep materials, epoxy base coat, color flakes, topcoat, and application tools included. No guessing, no shortages, no hassle.
Customize Your Color Flake Selection
Want to create your own custom combination? Mix and match epoxy base colors and flake colors to build a one-of-a-kind floor. Here's how:
- Select the kit with your desired base epoxy color (use the base coat color chart as a guide, don't worry about the flake colors, they will change to the custom colors you select)
- Browse the flake color charts below and choose up to 5 chip colors
- List your custom chip color & number selections in the "Custom Color Flake Order Note Box" and we'll swap them with the standard flake colors at no charge
Specialty Chips: Green & Blue Glow-in-the-Dark chips are available for $45/lb additional (currently out of stock). Metallic Silver chips are $30/lb additional. Indicate color and quantity in the Custom Chip Comment Box.
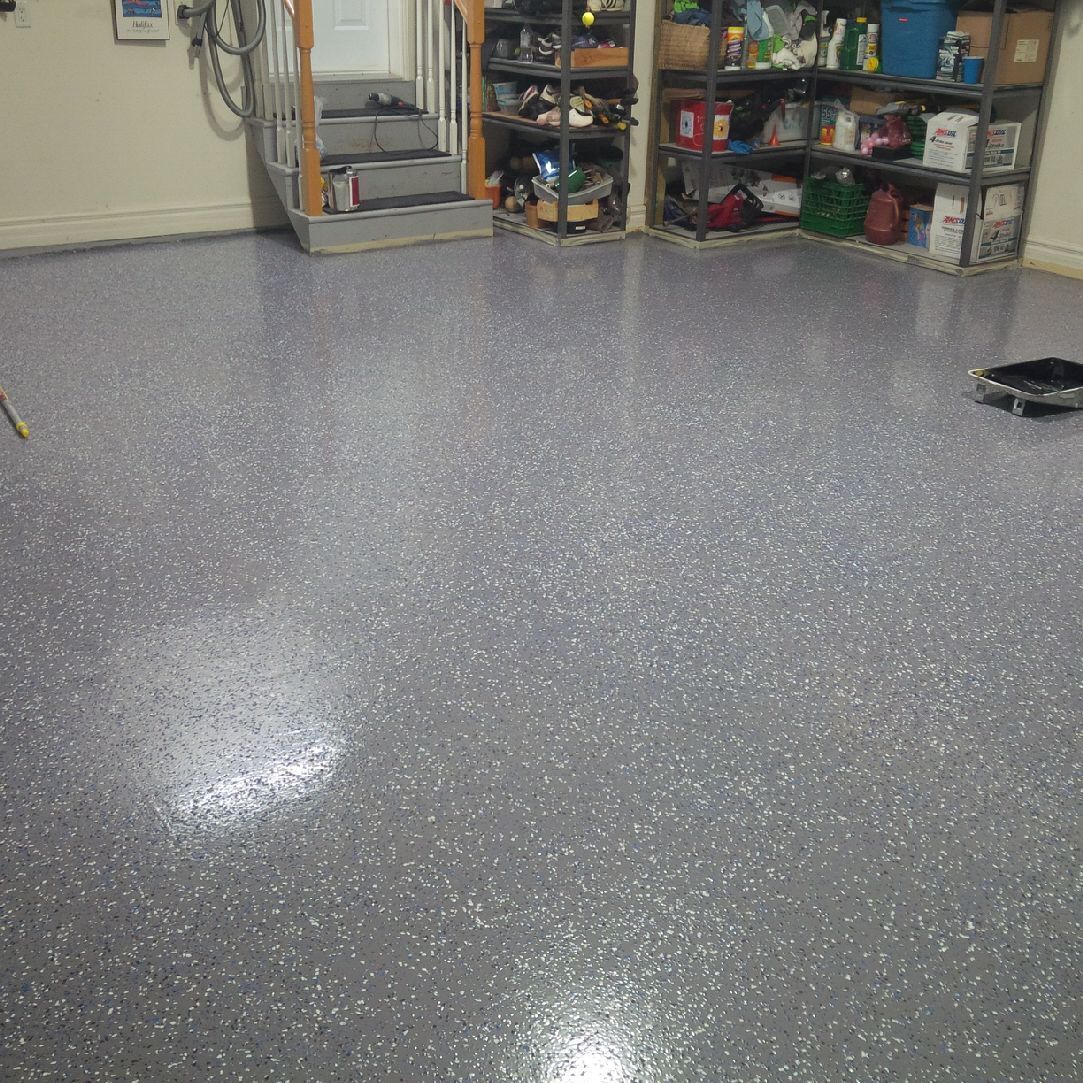
Close-Up: Epoxy Flake Floor
This is what the finished color flake finish looks like up close. Dark Gray base epoxy with Black, White, and Primary Blue flakes — one of our most popular combinations. The multi-color flakes create depth while hiding imperfections and dirt between cleanings.
 Click to Zoom
The Industrial Flake Floor Is Sold As A Complete Epoxy System With Everythin You Need In Sufficient Quantities:
- High-performance primer
- High Build 100% military grade epoxy base layer
- Ultrawear military grade clear topcoat
- Micro tubular aluminum non-slip additive
- Etching floor prep solution
- Neutralizing powder to bring the floor back to the proper PH. (critical for maximum adhesion)
- Calibrated squeegee for spreading the epoxy out at the right thickness
- Rollers, mixers, mixing bucket and spike soles
- Premium color flakes, quantity to match floor size
- Clear & Easy to follow instructions
- Phone & email support
- Free Shipping


