

Ultra Fast Drying POLYASPARTIC Epoxy
When Downtime is Critical – Back In Service The Same Day - Apply Down to 32°F, Free Shipping!
❄
32°F Min
Apply in cold weather
☀
UV Proof
Indoor & outdoor use
★
Coverage
250-750 SF with 2-layers
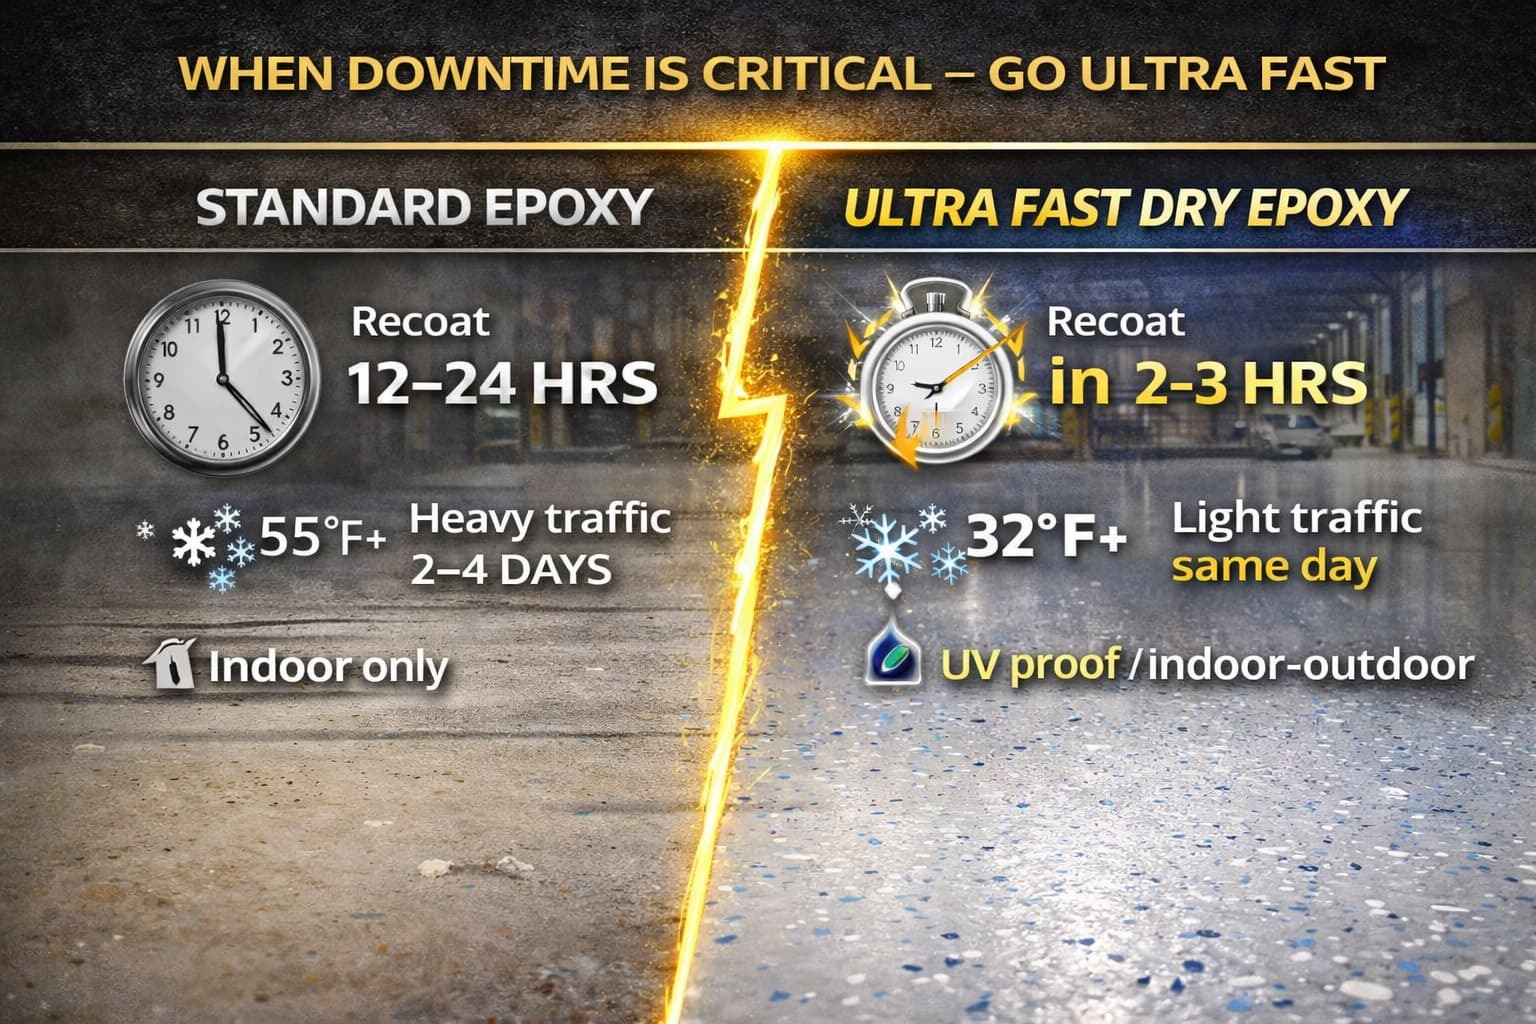
Ultra Fast vs. Standard Epoxy
Ultra Fast Polyaspartic Epoxy
- Apply at 32°F+
- Dries in 2-3 hours
- Heavy traffic in 24 hours
- Indoor & outdoor rated
- UV proof – won't yellow
Standard Epoxy
- Apply at 55°F+
- Dries in 12-24 hours
- Heavy traffic in 2-4 days
- Indoor use only
- UV sensitive (not outdoor rated)
Performance Features
- Chemical & acid resistant – Resistant to all vehicle fluids and Skydrol which is very corrosive
- Heavy-duty rating – 20mg abrasion loss for normal wear & tear. Light forklift traffic rated
- Multi-surface – Works on concrete, wood, or stone
- Low odor – About the same as conventional interior paints
Coverage - Application Details - TDS & SDS
Coverage: Sold as a 2-gallon set, 250 square feet of coverage with two coats; a 4-gallon set covers 500 square feet with two coats; or a 6-gallon set covers750 square feet with two coats. Allow yourself at least a 10% safety factor for different floor porosities—every concrete floor is different.
Pot Life: Approximately 10-15 minutes. We recommend not mixing more than 1 gallon at a time. Start with 1/2 gallon for your first batch until you get familiar working with it.
Color Flake Finish Option
For a decorative color flake finish, choose one of our color flake packs. Instead of all pigmented epoxy, you will receive:
- half the epoxy in the color you selected (base coat)
- half the epoxy in clear as a topcoat over flakes
- 3 lbs, 6lbs or 9lbs of color flakes for the 250, 500 or 750 SF kits respectively
This creates a finish similar to our Armor Chip Garage Epoxy kit but can be applied directly outdoors and during cold winter months.
What's Included In Your Kit
Everything needed to complete your floor in one day — no extra trips to the store.
Do It Right the First Time With ArmorGarage!
Need guidance or volume pricing for your project? Get expert support from start to finish.
Talk To An Expert
This Polyaspartic epoxy coating is rated from Residential to Commercial usage. The list of applications is long and wide-ranging.
Typical Applications
Outdoor Carports
& Patios
Outdoor Commercial
Public Spaces
Commercial Applications
Where Downtime is Critical
Light Aircraft
Hangars
Where Caustic Chemical
Resistance is Required
Loading Docks
Ultra Fast Application Instructions
The concrete slab must be clean of all dust, dirt, oil stains, or other contaminants. We recommend the Floor Prep Machine from Home Depot for floors up to 2000 sq. ft. or a rental diamond grinder with new 25-grit bits for best results. Be sure to use a grinder with an appropriate non-clogging vacuum attachment to minimize the dust. After grinding, vacuum the floor to remove leftover dust. Then, using a strong leaf blower, blow any remaining dust off the floor just prior to application.
As an alternative, two strong acid etches with a 2:1 water-to-acid ratio (1 gallon of muriatic acid per 300 sq ft) will also work. To etch, wet the surface, power wash if possible, sprinkle mix acid solution onto surface and scrub in with stiff bristle shop broom or pool brush. Let sit for 5 minutes and rinse. Repeat a second time. Before the second rinse, brush in 1 lb of TSP Powder for every 1000 square feet. Let sit for 1 minute, then do a final rinse; power-wash rinse if possible. This will bring the slab back to the proper PH for maximum adhesion. Let floor dry 24-48 hours. Floor must be 100% dry!
Oil stains can be removed by mechanical grinding or scrubbed out with Liquid Tide and muriatic acid; be sure to neutralize these spots after washing with TSP. Test oil spots by sprinkling water on them, water should not bead up or turn rainbow bluish tint.
Repair any cracks or divots before coating. See ArmorGarage concrete repair products. Coatings will not repair floor damage.
Once the floor is ready for coating, stir each can with separate stir sticks to unify any separated materials. Pour all the Tint (1 pint) into the Part A and mix until color is uniform. Pour Part A into a clear measuring container, and do the same with Part B in a separate container. Please note that this product is not like standard off-the-shelf epoxies and has a short working time of about 15-20 minutes. Mix one gallon total of Part A & Part B at a time per the mix ratio on the label for both.
You can use any measuring cups to measure smaller amounts, as long as you maintain the proper ratios. Pre-hardening of product is not covered under the warranty, so do not mix too much until you get a feel for how much you can apply in 15 minutes. Make sure to mix all material from the sides and bottom of your container so you don’t end up with any unmixed material. Do not overstir; mix for 2.5 minutes only. Do not create a vortex that will introduce air into the mixture. Mix on medium speed.
Do not use the same stir stick in different cans; use a different stick to stir Part A, a different stick to stir Part B, and a different stick to mix the combined components. 3 stir sticks are provided. Using the stir stick from one can and then using it in another can of a different component will cause cross-contamination.
Pour mixed coating onto the floor in a left-to-right bead and roll out with a 1/4" nap epoxy lint-free roller. Apply the epoxy at approximately 275 sf/mixed gallon. Do not mix in sunlight, and do not store product in sun or hot areas. Do not mix more than 1 gallon at a time per person rolling. If applying color flakes, using your spike soles, toss handfuls of flakes up and away from you at a 45-degree angle to achieve an even but random pattern.
Let the first coat dry to the touch, about 2- 3 hours; be sure it is fully dry to the touch. To test, press your thumb into the coating; if a fingerprint is present, wait. If no fingerprint, you're good to go. The first coat may dry with some streaks in it. If you applied color flakes, lightly scrape them down to remove any loose or vertical flakes. Apply the second coat the same way as the first, perpendicular to the first coat if possible. Avoid puddling and over-rolling for best results. Spread rate is approximately 275 sf/gal. You will get better coverage on the 2nd coat since the floor is sealed and all streakiness will be eliminated.
For a slip-resistant surface, we recommend using the Armor Ultrawear Nonslip additive, which can be mixed into the final coat at 1 pint per 1 gallon of mixed epoxy, rather than broadcasting. Mix this in thoroughly before applying, and re-mix when pouring more into the roller pan to keep the non-slip suspended. The coating is slippery when wet, so nonslip is recommended wherever the floor may get wet or oily.
Clean up any spills or epoxy from your hands (using the provided gloves is recommended) while epoxy is still wet, once dried it's extremely hard to remove. Xylene or equivalent works best for cleanups.
We suggest you start with a small batch at first, about ½ gallon mixed (one quart each of A and B is best), and apply that in a corner area. This will get you used to mixing and working with the coating. The rest of the floor application should be straightforward.
This product is easy to apply, and you can contact us by phone or email at any time if you need help.
Related Products