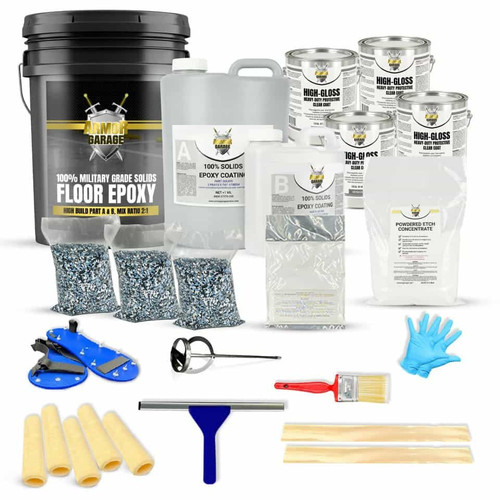


Extra Thick 100% Solids Epoxy Floor Paint
High-build two-component epoxy for residential, commercial and industrial concrete floors. Use it as a durable standalone coating or in combination with a primer and or urethane epoxy topcoat.
What Is 100% Solids Epoxy Paint?
100% solids epoxy paint is a two-part coating made from 100% epoxy resins and hardeners with no water or solvent to evaporate out. Once the two components are mixed, they chemically cure into a hard tile like protective film rather than simply air-drying like conventional paint.
When applied over properly prepared concrete, the epoxy locks into the open pores of your slab and cannot be separated from the top layer of the concrete. It forms a protective layer designed to resist wear, impact, chemicals, staining and hot-tire traffic.
ArmorGarage 100% solids epoxy contains no added water or solvent carrier that evaporates away during curing that results in thin inadequate surface films.
Important: the words “100% solids” alone do not guarantee that two epoxy products will perform the same. Resin quality, hardener chemistry, pigment content, specified film thickness, surface preparation and application all affect the finished coating. Beware of fake 100% solids epoxies that are not 100% solids in both weight and volume and or cheap imported 100% solids and high solids epoxies that use low grade materials to offer a low selling price.
Coverage & How Much Epoxy to Order
3 × 5-Gallon Pails
Coverage is rated at up to approximately 200 SF per gallon on a properly prepared, relatively smooth surface. Because every concrete floor varies in porosity, texture and condition, we recommend planning your order around 170–185 SF per gallon rather than purchasing to the exact square footage of your floor. This provides a reasonable material allowance for normal absorption, surface variation, edges and application loss. Pitted concrete, grout lines and unusually porous or rough surfaces may require additional material.
Need a complete system? View all Epoxy Flooring Systems .
Where to Use 100% Solids Epoxy Paint
Use this coating where you need a thick, durable epoxy layer over properly prepared concrete.
- Garage and residential concrete floors
- Commercial and industrial floors
- Automotive and maintenance areas
- Warehouses and work areas
- Floors exposed to vehicle fluids, road salts and chemicals
- High-gloss floors where easy cleaning and maintenance are important
- Base coats for decorative color-flake and multi-layer epoxy systems
Build the floor your application requires. This epoxy can be used as a standalone coating or combined with compatible primers, color flakes and protective topcoats for additional thickness, appearance and wear protection.
Optional Topcoats for Additional Protection
For higher traffic, decorative flake systems or applications requiring additional abrasion and chemical resistance, apply a compatible protective topcoat over the cured epoxy. Lower abrasion-loss numbers indicate greater abrasion resistance.
Topcoats can add: additional abrasion, scratch, stain, chemical and UV protection. Non-slip additive can also be incorporated where additional traction is required.
Critical Application Instructions
Step 1 — Surface Preparation
- Concrete floors: acid etch or diamond grind to create the proper surface profile for epoxy adhesion.
- Tile and wood: use the appropriate ArmorGarage Epoxy Bonding Primer before applying the epoxy.
- Previously coated concrete: verify the existing coating is securely bonded before recoating. If the old coating fails the adhesion test, remove it by grinding before proceeding.
Step 2 — Mixing
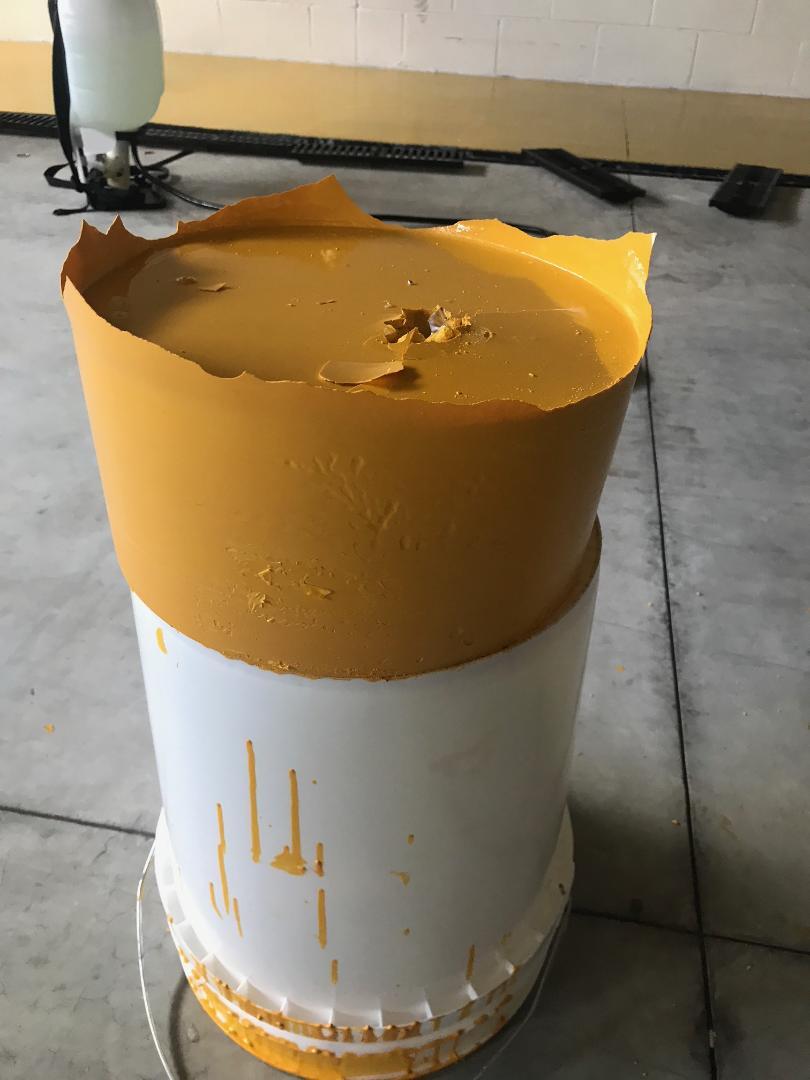
Critical: once Parts A and B are mixed, the curing reaction begins immediately.
- Mix only about 1 gallon combined Part A and Part B per person rolling
- Mix with a Jiffy-style mixer and power drill at medium speed for approximately 2½ minutes
- If preparing more than one gallon, divide the material into separate working pails
- Pour the mixed epoxy onto the floor immediately after mixing
- Do not leave mixed epoxy sitting in the pail
- Do not mix an entire large set at once
Mixed epoxy generates heat rapidly in a container and can harden before it can be applied if too much material is mixed at one time.
Step 3 — Apply the Epoxy
Pot life: approximately 30 minutes per working batch. Mix only what can be applied within the available working time.
Recommended application planning:  Concrete  porosity and texture vary from
floor to floor, so having a reasonable material reserve helps prevent running
 short during application.
Filling Minor Pits & Voids
- Minor pitting can be filled by combining the epoxy with clean sand to create a slurry
- Use a flat squeegee to push the slurry into pits and voids while leaving minimal excess on the surrounding surface
- Allow the repair coat to cure before applying the finish coat according to the product recoat window
- Order additional material when filling extensive pitting or grout lines
Curing & Recoat Timing
- Typical cure time: approximately 12–14 hours depending on temperature and humidity
- Topcoat window: apply within the specified recoat period; if more than 24 hours passes, lightly sand before recoating
- If using primer: allow the primer to dry completely before applying the epoxy; typical dry time is approximately 5–6 hours
Temperature Warning: do not apply if the floor temperature will fall below 55°F during the curing period. Cold temperatures can prevent proper curing, so check floor temperature and application conditions before starting.
Using a contractor? Make sure the installer reads these product-specific mixing and application instructions before starting. High-build two-part epoxy handles differently from thin conventional floor coatings.
Color & Finish Options
Choose your epoxy color from the available product options above. Compatible color flakes and protective topcoats can be added when you want a decorative multi-layer finish or additional wear protection.
Using a color topcoat? The standard color topcoat can be supplied to coordinate with the epoxy color selected. Additional colors and custom options are available — call 866-532-3979 for assistance.
Need a Complete Epoxy Flooring System?
If you would rather have the compatible primer, epoxy, decorative materials and protective topcoat selected for you, shop our complete epoxy floor systems sized for residential, commercial and industrial projects.
For product selection or application assistance, call 866-532-3979 or email info@armorgarage.com.
Related Products