


Heavy Tonnage Industrial Epoxy Floor Coating
The toughest epoxy floor coating on earth — engineered for extreme traffic, maximum impact resistance, and the harshest industrial environments where every other coating fails.
The Toughest Epoxy Floor Coating on Earth
We call this our Heavy Tonnage Epoxy Floor Coating for a reason — it's engineered to withstand extreme traffic, both in vehicle weight and high volume. This is a complete turnkey two-layer epoxy floor system that is a whopping 30 mils thick and has a Shore D hardness rating at the top of the chart, exceeding the hardness of all other epoxy coatings and even construction hard hats.
This extra heavy duty industrial epoxy system cures to a high gloss finish that handles daily caustic wash downs, high-impact drops, oversize and high-performance abrasive tires, and heavy repetitive traffic as found in most production and repair facilities. This coating has the lowest cost of ownership because it will last the longest.
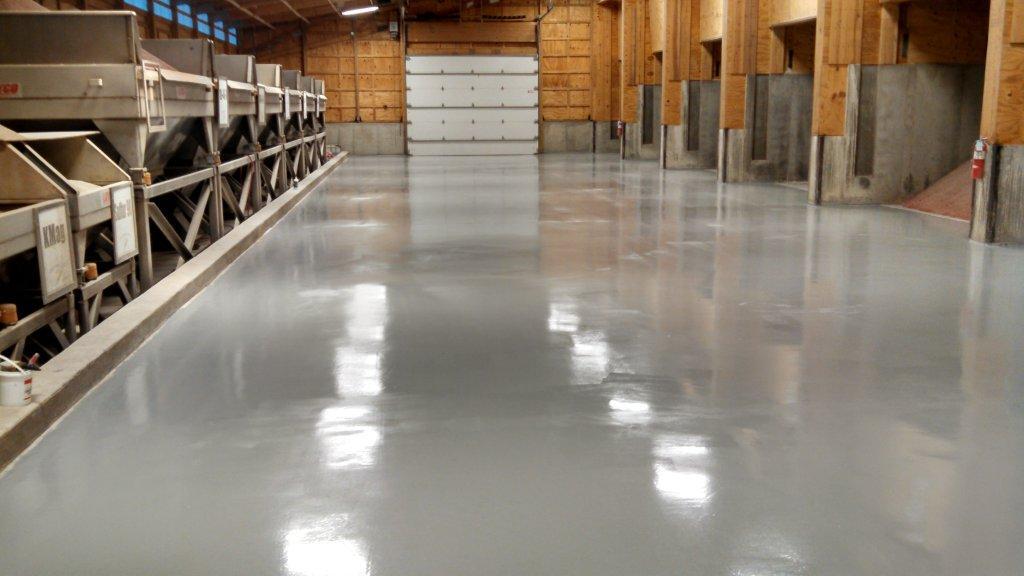
Crop Production Services facility — abrasive grain and caustic fertilizers have no effect on the Heavy Tonnage system.
Customer Success: Crop Production Services handles large trucks filled with heavy and caustic fertilizer daily. After testing numerous coatings, the Heavy Tonnage Epoxy System is the only one that stood up to their semi-truck traffic and corrosive fertilizers. It is now the standard epoxy floor coating for all their facilities.
Complete Turnkey System — Everything Included
- High-Performance Primer — Creates the strongest bond to concrete — tougher than most standalone epoxy systems on the market
- Heavy Tonnage Super Duty Floor Epoxy — 30 mils thick with bunker-concrete hardness and 3mg abrasion rating
- 18" Calibrated Application Squeegee — Ensures correct and consistent thickness throughout application
- Application Tools — Mixing wand, rollers, spike soles, and buckets included
- DIY-Friendly Design — Can be applied by anyone with no prior experience required
The only thing you need to supply is elbow grease and Xylene for cleanup. Clean anything that should not be coated before it cures — once cured, it can only be removed by mechanical means.
Minimum order: 550 square feet • Ordered in 100 sq ft increments
Why Heavy Tonnage Outperforms Every Competitor
- 3mg Abrasion Loss Rating — Many times harder than construction hard hats. Competitors rate 25mg+ abrasion loss — once you exceed 25mg you're no better off than semi-gloss wall paint from a hardware store
- Chemically Hardened Formula — Cures to bunker-concrete hardness for extreme long-term durability
- Highest Quality Primer — Creates the strongest possible mechanical and chemical bond to concrete
- Forklift Tested — We've driven forklifts with blades down over this floor with zero adverse effects
- 30 Mils Thick — Complete two-layer turnkey system for maximum build and protection
- Shore D Hardness — Highest chart rating, exceeding all other epoxy coatings on the market
The abrasion rating gap matters enormously: Our coating is exponentially more durable than a coating with a 25mg abrasion loss rating. That's not a small improvement — it's the difference between aluminum foil and armor plate steel.
Proven in the Most Demanding Environments
We don't know of any other epoxy floor coating that could handle this kind of floor traffic. This aluminum factory has giant forklifts moving extremely heavy skids with coils of aluminum from production areas to storage — not being gentle when picking or placing.
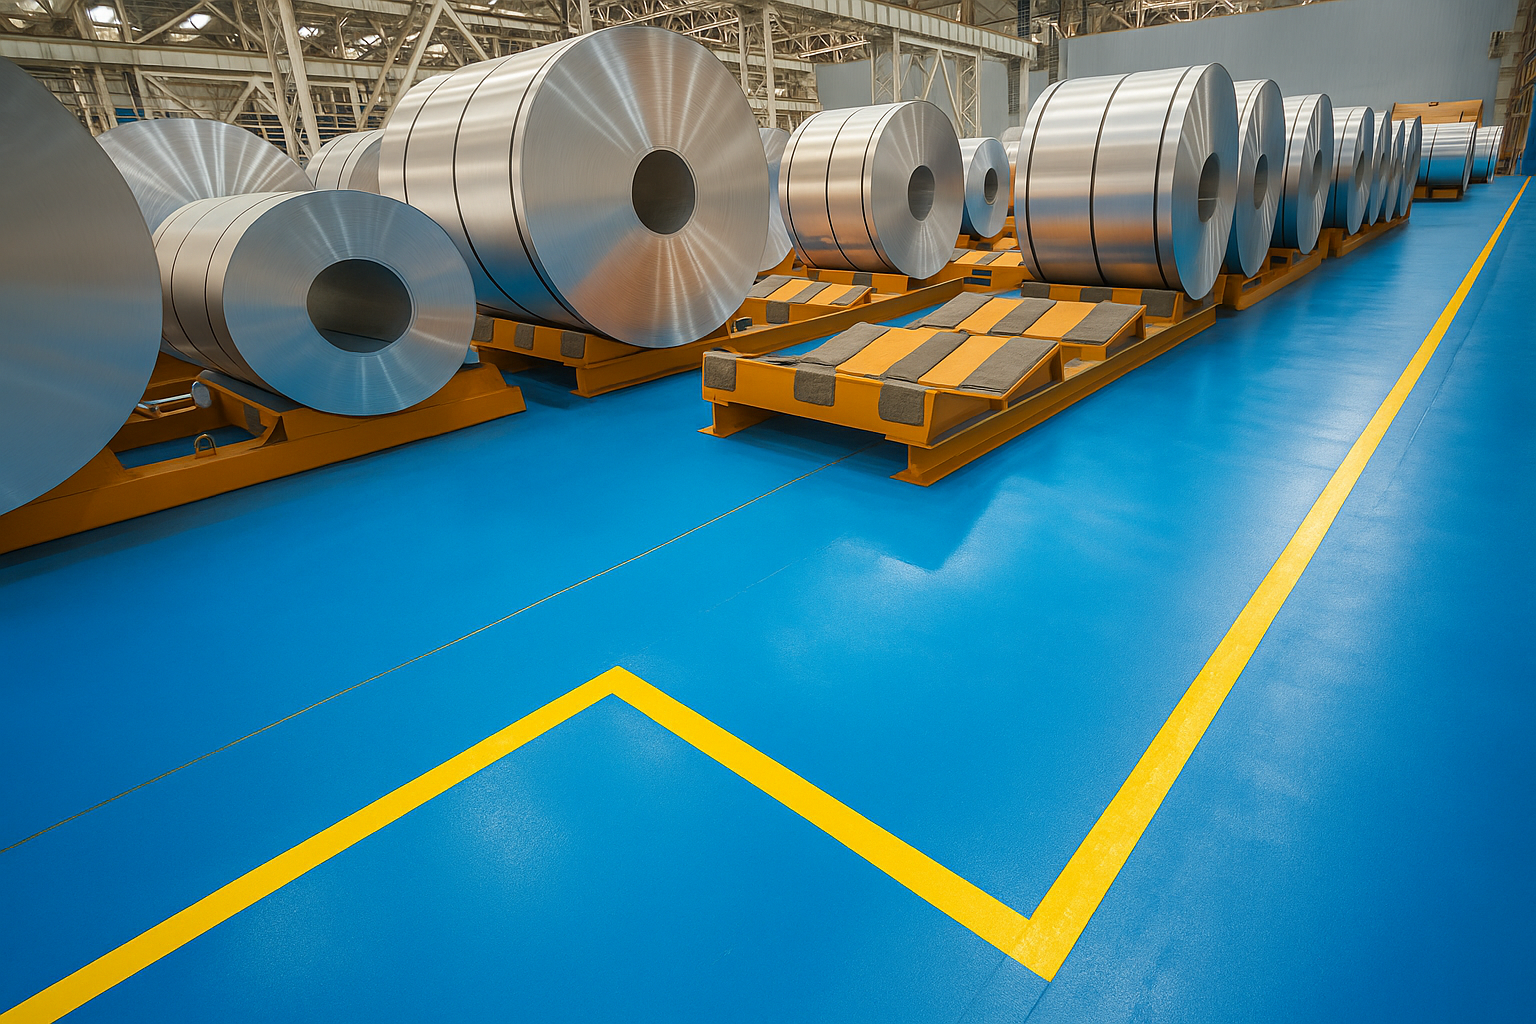
Aluminum factory: giant forklifts moving heavy skids of aluminum coils continuously — Heavy Tonnage holds up without issue.
Why is there a dog kennel in our photo gallery? Because dogs have sharp nails and like to dig — and this is the only coating that dogs who like to dig cannot harm.
Ideal Applications
Primer Options
Select if going over an existing coating or steel plate. Bonds to any previous paint, epoxy, or steel. Odorless — we'll swap out the standard primer at no extra charge.
Dries in 2-3 hours versus 5-8 hours for the standard primer. Lets you prime and epoxy in the same day when downtime is critical!
IMPORTANT VOC NOTICE: Due to EPA VOC law changes, certain states require the Low VOC version. The Low VOC version is also odorless — ideal for occupied facilities. Same 3mg abrasion rating and Shore D hardness. Standard version has a strong odor for the primer only (the epoxy itself has no odor).
States requiring Low VOC version:
If shipping to any of these states, select the Low VOC option in the size dropdown when ordering.
Ready to Order or Need a Volume Discount?
Minimum order is 550 square feet, ordered in 100 sq ft increments. Volume pricing available for large facilities.
Also see our Technical Resource Hub for product comparisons, specs, and full application instructions | ← Back to All Epoxy Coatings
Colors Not Listed That Are On Color Chart Are Available As Special Order Of 5000 Sq Ft Or More
Traffic Yellow & Safety Yellow Available IN Small Quantities For Line Stripping.

ENTER THE SQUARE FOOTAGE OF YOUR FLOOR PLUS AT LEAST A 10% SAFETY FACTOR TO ALLOW FOR DIFFERENT POROSTIES, EVERY CONCRETE FLOOR IS DIFFERENT. PLEASE ROUND UP TO THE NEXT FULL HUNDRED SF INCREMENT. EXAMPLE: IF YOUR ACTUAL FLOOR SIZE IS 1050 SF + SAFETY FACTOR =1155, ORDER 1200 SF.
PLEASE NOTE THAT LIGHTER COLORS SUCH AS WHITE AND OFF WHITE AND HIGH PIGMENT COLORS SUCH AS YELLOW, RED & BLACK MAY YIELD LESS COVERAGE.
Heavy Tonnage Epoxy — Application Instructions
Three-step professional installation that delivers a 10–15 year industrial-grade floor coating. Many facilities can stay in full service by doing sections at a time.
Installation Overview
The Heavy Tonnage Epoxy flooring system installs in three steps. Total installation time is 1–2 days, 12-14 hours for light traffic and 24-48 hours of cure time before heavy vehicles can operate on the floor. The end result is a 10–15 year industrial-grade coating engineered for the most demanding service conditions.
Sectional installation for active facilities: Many industrial facilities can stay in full service during installation by working in sections. Coordinate traffic flow around the cure area and rotate sections as each cures to heavy-duty service.
Preferred method: diamond grind. Diamond grinding removes surface contaminants, opens the concrete pore structure, and creates the ideal mechanical profile for epoxy adhesion. This is the single most important step — 90% of epoxy failures trace back to inadequate floor prep.
Removing Oil and Grease Stains
For oil and grease stains, scrub in Liquid Tide mixed with Muriatic acid. Allow the acid to work for 5–6 minutes, then rinse off. Repeat as necessary until the stain is gone. On the final rinse, neutralize with TSP powder.
For heavily oil-stained floors that cannot be fully cleaned: Select the Oil Primer option instead of the standard primer. Oil Primer is specifically formulated to bond over residual oil contamination that won't come clean.
Alternative: Acid Etching
If you cannot diamond grind, acid etching is an acceptable alternative for lighter-duty prep. You must etch twice for proper profile:
- Mix 2 gallons water to 1 gallon muriatic acid — covers approximately 300 SF
- First etch: apply the solution and scrub in with stiff bristle shop broom or pool brush, let sit for 5 minutes then rinse thoroughly
- Second etch: apply again. Before rinsing, lightly brush in TSP powder at 1 lb per 1,000 SF and let sit for 1 minute to neutralize
- Final rinse to remove all residue
Crack and Spall Repair
After cleaning, repair any cracks or spalled concrete with one of our repair kits. Using the Instant Crack Repair Compound lets you patch and move directly to priming without waiting for cure.
For floors larger than 3,000 SF: Rent the largest commercial grinding machine available with new 25–30 grit diamond bits. Always get the vacuum attachment with any grinder rental — dust containment is critical. If on-site power is insufficient, rent a generator to run the proper-size grinder.
See our complete floor prep guide for additional details and tips.
The primer creates the chemical bond between the concrete and the epoxy topcoat. Skipping the primer or applying it incorrectly is a common cause of adhesion failure.
- Mix primer per the ratio on the product labels
- Mix for 2½ minutes on medium speed
- Mix only 1 gallon per person rolling — do not mix more than can be applied within pot life
- Apply high-performance epoxy primer — or Oil Primer if oil cannot be fully removed from the floor
- When downtime is critical choose the Fast Dry Primer option, dries in 2-3 hours and you can epoxy right over it
Product selection: Use the high-performance epoxy primer for clean, properly prepped floors. Use the Bonding Primer If coating over existing epoxy or paint, you must let the Bonding Primer dry overnight. Bonding Primer is used in lieu of the standrad primer. Use Oil Primer only when oil contamination cannot be removed by cleaning. Oil Primer is the specialty product for compromised floors — not an upgrade over standard primer.
Wait until primer is dry to the touch — approximately 5–8 hours depending on temperature and humidity. Test by pressing your thumb into the primer. If no thumbprint is left, the primer is ready for the epoxy topcoat. do not apply epoxy until thumbprint test is verified, applying epoxy over uncured primer will result in epoxy defects not covered under warranty. Do not let more than 20 hours pass between primer and epoxy application. If recoat window is missed light sand primer with 120 grit to profile the primer.
Mixing the Epoxy
- Mix only 1 gallon per person rolling — this is a high catalytic reaction epoxy and larger batches set up faster, reducing working time dramatically
- Mix for 2½ minutes on medium speed — do not mix on high speed, which infuses air into the epoxy and causes finish defects
- Move the mixer all around the bucket — scrape and mix the bottom and edges to ensure full combination of Part A and Part B
- Transfer from mixing bucket to smaller pails after mixing, then give a quick remix in the smaller pail before application
Critical — do not leave mixed epoxy in the bucket. Pour directly onto the floor in a bead and squeegee immediately. Epoxy left sitting in the bucket heats up and sets prematurely, wasting material and compromising finish quality.
Application Technique
- Pour the epoxy directly on the floor in a bead from left to right
- Spread with a calibrated notched squeegee first at the 125 SF/gallon rate
- Back-roll over the squeegeed area to smooth the surface and spread evenly
- Repeat section by section until the floor is complete, all sections will blend into one monolithic finish
Non-Slip Finish (Optional)
For non-slip traction, purchase 1 unit of heavy-duty non-slip per 500 SF of floor. Evenly broadcast the non-slip aggregate onto the epoxy after squeegeeing but before back-rolling. This is where spike soles become essential — they let you walk on the wet epoxy without leaving roller marks.
Cure Times
Light foot traffic: 8–12 hours (once dry to the touch). You can walk on the floor and put light traffic on it.
Heavy vehicle traffic: Allow 1-2 full days of cure to reach full hardness before putting heavy vehicles, forklifts, or heavy equipment on the floor.
What Properly Prepped Concrete Looks Like
Your floor should look like the "After" image below — clean, uniform, open-pore concrete with oil stains removed. Even though the example is a garage floor, the concept is identical for industrial applications: the floor must be prepped properly or the coating will fail.

Stained, contaminated surface — not ready for coating

Diamond-ground clean — ready for primer
This floor was prepped using a Home Depot rental grinder, this does a good job up to 3000 square feet, larger than that rent an industrial sized grinder or shotblaster. Oil stains were cleaned with Liquid Tide and Muriatic acid. Always rent the largest grinder you can handle, if you have insufficient electrical power, rent a generator for the grinder. The investment in renting a large grinder and/or generator pays off in time savings and coating longevity.
Questions About Your Heavy Tonnage Installation?
Send us photos of your floor condition and we'll recommend the right prep approach, primer, and quantities for your specific project.
BEFORE
AFTER


