

About Armor Garage Concrete Epoxy Coating
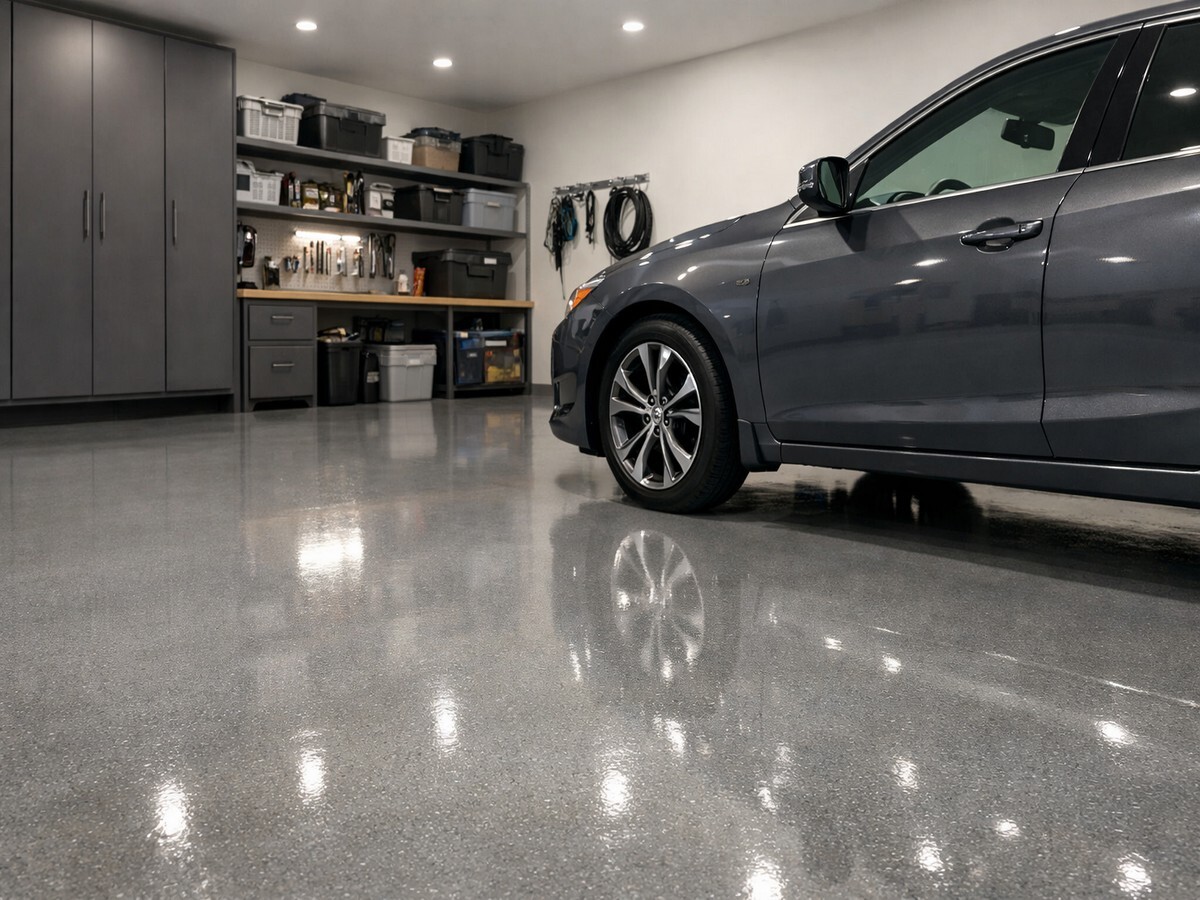
Concrete epoxy coatings create an exceptional floor surface for garages and shops. Primer and topcoats add thickness and durability. A protective topcoat hardens into one sealed surface with no pores. The layers cure into a hard, seamless surface with a strong shine.
The epoxy floor resists wear, chemicals, moisture, and impact in busy spaces daily. Choose a kit according to traffic load, tire wear, and spills in your space. Moisture sealing epoxy forms a barrier on the concrete surface. Wet floor epoxy primes itself alone. Textured epoxy adds grip on wet areas.
What Is Concrete Epoxy Coating
Concrete epoxy coating is a tough, resin based coating for concrete floors. It bonds to prepped concrete and hardens into a glossy surface.
Good prep removes oil, then opens pores with etching or grinding well. Primer grips clean concrete and helps the coating stay tight longer. Thick epoxy builds a solid base layer under your feet. A urethane topcoat adds shine and resists stains, scratches, and tire wear.
It helps block moisture, road salts, and oil, resist spills, impacts, and heavy traffic every day.
Concrete Epoxy Coating vs Epoxy Paint
Concrete epoxy coating cures into concrete and forms a hard floor. Epoxy paint dries on top of the surface and wears sooner. Below you compare how well each one sticks, how long it lasts, and where it fits best in a garage or shop.
| Concrete Epoxy Coating | Epoxy Paint |
|---|---|
| Cures into concrete for a stronger bond | Dries on top of the surface |
| Resists scrapes, rubbing, and tire wear | Wears down sooner |
| Handles chemicals and hot tires better | Can peel and stain easier |
| Made for long term floor protection | Made for short term color change |
| Fits garages, shops, and work floors | Fits light use areas and touch ups |
Shop Concrete Epoxy Coating for Your Floor
Start with the space you want to coat. Think about traffic, spills, water, and slip risk first.
Garage floors: Parking brings tire abrasion, road salts, and oil drips. Pick a kit made for daily vehicle use and cleanup.
Shop floors: Tools and carts roll across the floor all day. Choose a kit made for heavy rolling loads and spills.
Warehouse floors: Carts and pallets wear down busy travel lanes. Pick a tougher kit for constant movement and scuffing.
Industrial floors: Some areas face chemicals and caustic wash downs. Use an option made for harsh exposure and wet use.
Moisture under a slab can break a coating bond. Its sealing epoxy lays a physical barrier layer for moisture blockage. Wet floor epoxy goes on damp floors. It itself primes on concrete and steel.
Epoxy can get slick when wet, so add texture for grip. The textured non slip epoxy page lists USDA approval and ADA and OSHA slip guidance.
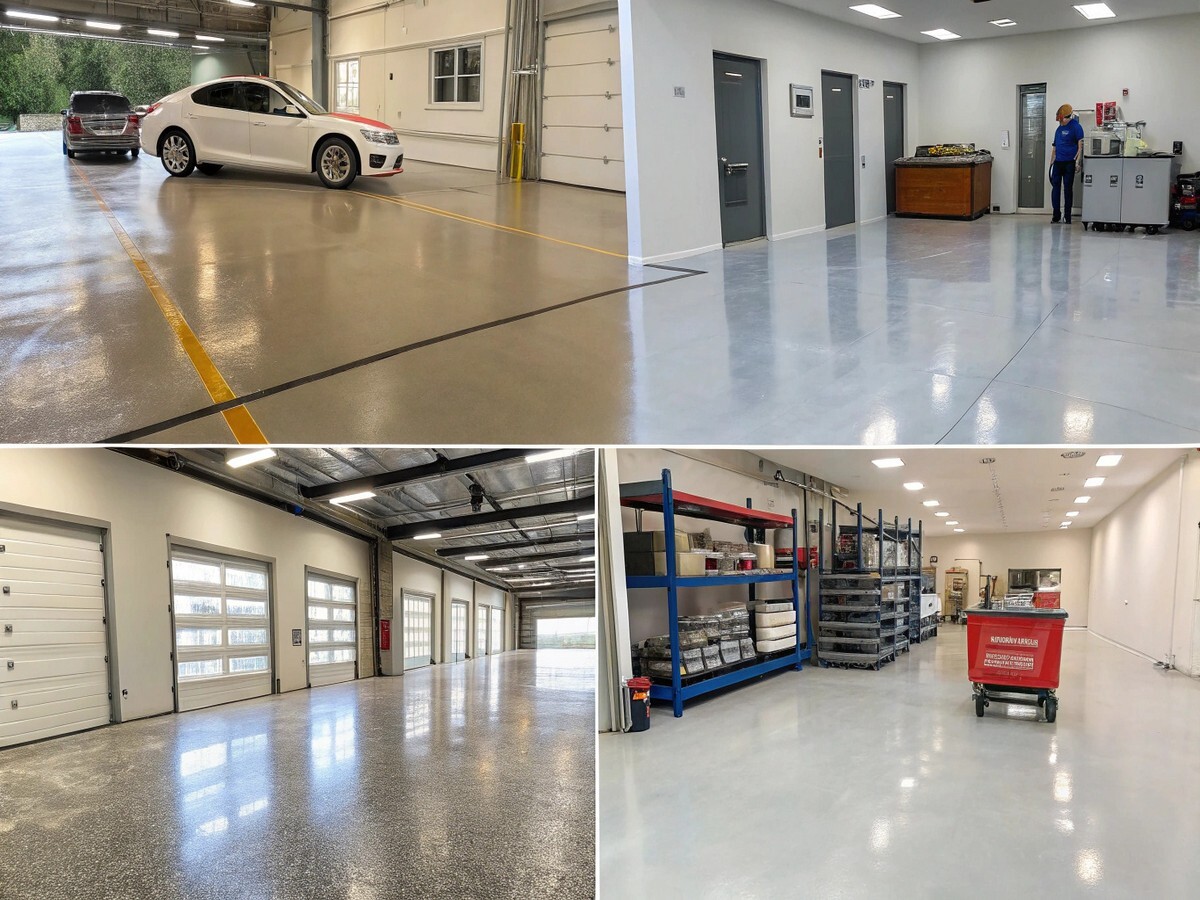
Where Concrete Epoxy Coating Performs Best
Concrete epoxy coating performs best in high-traffic, durable, and hygienic environments. Many people use it in industrial facilities, warehouses, commercial kitchens, and garages. It resists chemicals and impacts, and it makes cleanup easier.
Best Performing Environments
- Industrial and manufacturing: Factories, production floors, and machine shops with heavy equipment, chemical spills, and constant wear.
- Warehouses and distribution centers: Forklift traffic, heavy loads, and floors that need strong traction.
- Commercial kitchens and food processing: Seamless, easy to clean floors that hold up to spills, bacteria, and common cleaners.
- Automotive: Auto repair shops, dealerships, and garages that deal with oil, gas, and daily vehicle traffic.
- Healthcare and laboratories: Cleanrooms, labs, vet clinics, and hospitals that need hygiene, chemical resistance, and easy sanitation.
- Retail and showrooms: Customer areas that need a clean look and can handle steady foot traffic.
How to Choose the Right Concrete Epoxy Coating
To choose the right concrete epoxy coating, look at how you use the floor. Check traffic, chemical spills, moisture, sun, and temperature, plus the look you want and the grip you need.
Match coating strength to traffic load, chemicals, and tire abrasion on the floor. Pick flakes to hide surface marks, or pick solid color to spot small parts. Cold climates can need heavier protection, and a true topcoat helps with sun exposure.
- Check foot traffic, carts, or forklifts.
- Check tire abrasion in parking areas and turn zones.
- Check chemical exposure from oil, cleaners, and shop spills.
- Use moisture sealing epoxy when moisture rises under the slab.
- Check damp floors that need wet floor epoxy that primes itself.
- Add texture where water can make the floor slick.
Share square footage, traffic type, wet zones, and traction needs. Open the kit group that fits your floor, then choose color and add ons. Call or email for help before checkout.
Fix Common Floor Problems Before You Coat
Before you apply any floor coating, fix the floor issues first. Clean the concrete, repair damage, and manage moisture. These steps help the coating bond and stay smooth longer.
Moisture rising under the slab
Moisture can rise through concrete and cause coating failure. Moisture sealing epoxy forms a physical barrier layer on the surface. Your site shows a plastic sheet test that helps spot trapped moisture under the floor. When the test shows moisture, start with the barrier coat option.
Damp or wet floors
Some floors stay damp after wash downs or rinse water. Wet floor epoxy can go on wet floors and it self primes. It needs no primer on concrete or steel.
Slip risk in wet areas
Epoxy floors can get slippery when wet. Textured non-slip epoxy adds grip in wet or greasy zones. Put texture on ramps, entries, and service lanes that see rinse water. Use texture where shoes track water across the coating. Choose the textured option for those areas at checkout.
Prep Your Concrete Floor Before You Coat
Good prep helps epoxy grip and last. Start with concrete free of grease, oil, wax, and loose paint. Scrub, power wash, and rinse until runoff looks clean.
Give the concrete a rough profile with diamond grinding or acid etching. When you etch, sprinkle TSP powder on the wet floor, brush it in, then rinse well.
Dirty or new slabs may need two etches in a row. Let the floor dry for 24 to 48 hours, and wait longer when air stays humid. Keep the slab temperature above 50 degrees during coating.
Patch pits, cracks, and joints so coats roll out smoothly. Vacuum all dust after grinding or etching, since dust can stop epoxy from sticking. For small to mid jobs, rent a floor prep machine or a diamond grinder, then follow the product instructions for mix and recoat times.
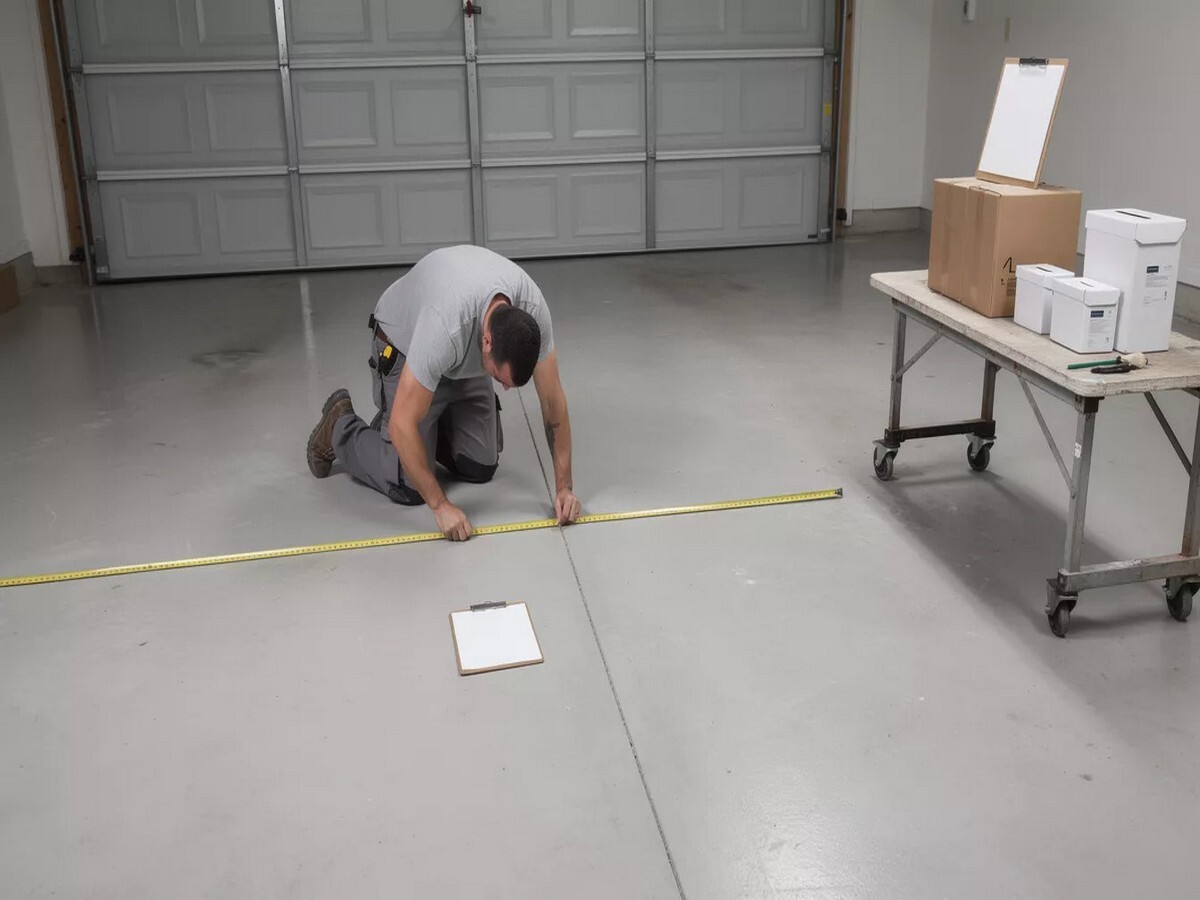
Measure Your Floor and Order the Right Amount
Measure length and width for each floor area you plan to coat. Multiply to get square feet for each area, then add the totals. Do not count closets, steps, or any space you will not coat. Many Armor Garage kits use your total square footage for ordering.
Concrete can soak up coating at different rates, so exact totals can come up short. Many systems recommend adding a 10% safety factor for rough spots and porous concrete. Metallic epoxy pages recommend a 15% safety factor. Check the product page notes before you place the order.
Pick color and options, then enter total square footage if that option is available.
Need Help Choosing the Right Epoxy Kit
Send your square footage and tell us where the coating will go. Mention any damp areas, moisture under the slab, or slip risk spots. Our team will point you to the kit group and options that fit your floor before checkout.
Concrete Epoxy Coating FAQs
Click a question to expand the answer. Use Open All / Close All if you prefer.
Primer helps epoxy grip rough concrete. Many kits use primer after etch steps. Wet Floor Epoxy primes itself on damp concrete. That product needs no primer on concrete or steel. Pick primer only when your kit calls for it first.
Moisture can rise through a slab. It can cause coating failure over time. Moisture Sealing Epoxy forms a barrier layer surface. Your site shows a plastic sheet test method here. Tape plastic down for two days, then look afterward there. If moisture shows, start with the barrier coat option first now.
Hot tires and parking can stress garage concrete hard daily. Garage kits target hot tire pickup and tire abrasion areas most. Road salts, grit, and oil drips can stain bare slabs quickly too. Follow prep and cure steps, then park after full cure time listed there.
Wet floors need wet floor epoxy. It applies on wet concrete at install. It primes itself, so primer stays unnecessary there. Steel floors also work since the product primes itself. Keep water moving off the floor during the cure time.
Epoxy can get slippery when wet. Texture adds grip where water sits long. Use texture on ramps, entries, and wash zones. Choose textured non slip epoxy for wet greasy areas. Spread texture across turns, steps, and door paths too there. Keep one smooth strip for carts and sweep when dry inside.
Old coatings must stay tight everywhere. Scrape loose areas until edges stop lifting. Grind the surface to leave a dull scratch. Wash off oil, then rinse until water runs clean. Vacuum dust, then patch pits so rollers stay smooth again. Test a small spot, then look for firm grip after cure. Coat the whole floor when the old layer holds strong all around.
Cure time depends on the kit you buy. Warm concrete helps coatings cure on the planned schedule. Cool floors or humid air can slow the cure window. Walk on the floor first, then add light loads later inside. Park cars only after the kit cure time shown ends fully there. Wait for full cure before forklifts or heavy rolling equipment use starts again.