

-

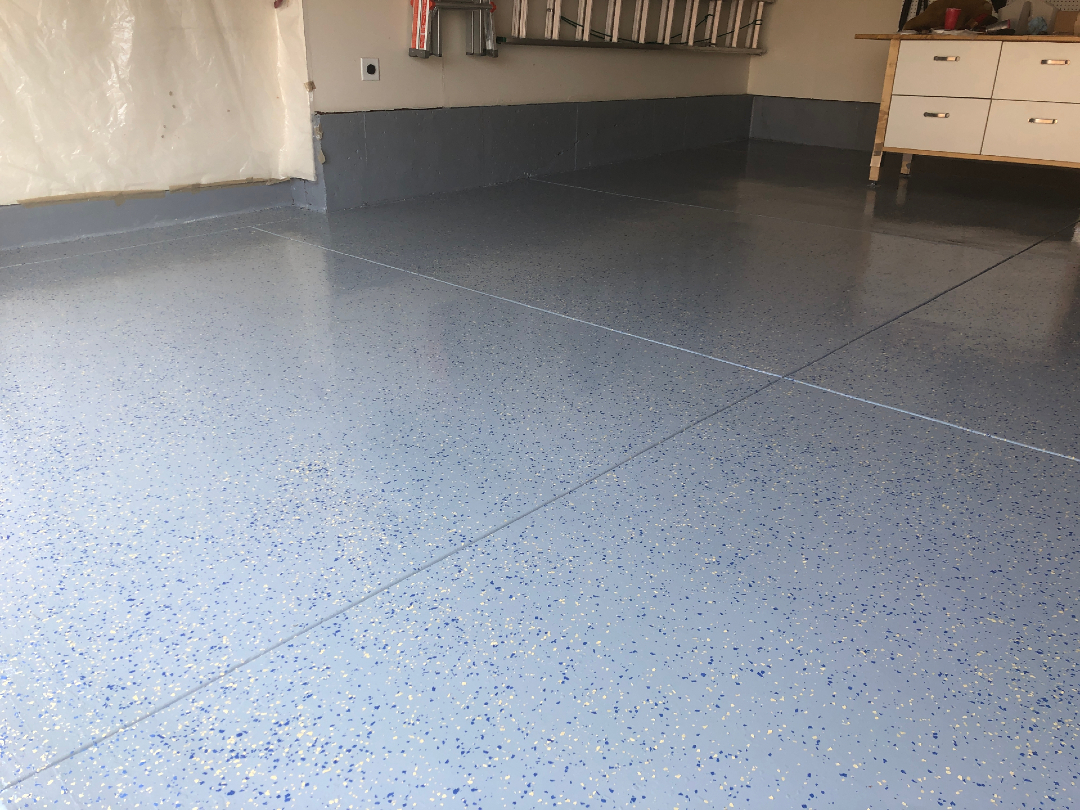
Armor Granite 1-7 Car Garage Epoxy Floor Kit - Heavy Flake Coverage
$499.00 - $699.00 -

Armor Chip 1-8 Car Garage Epoxy Floor Kits - Medium Flake Coverage
$389.00 - $410.00 -

-

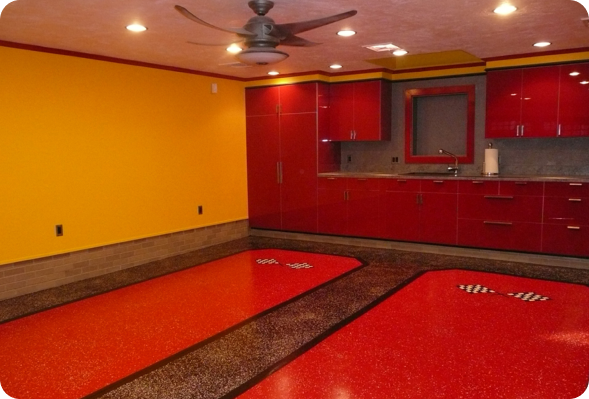
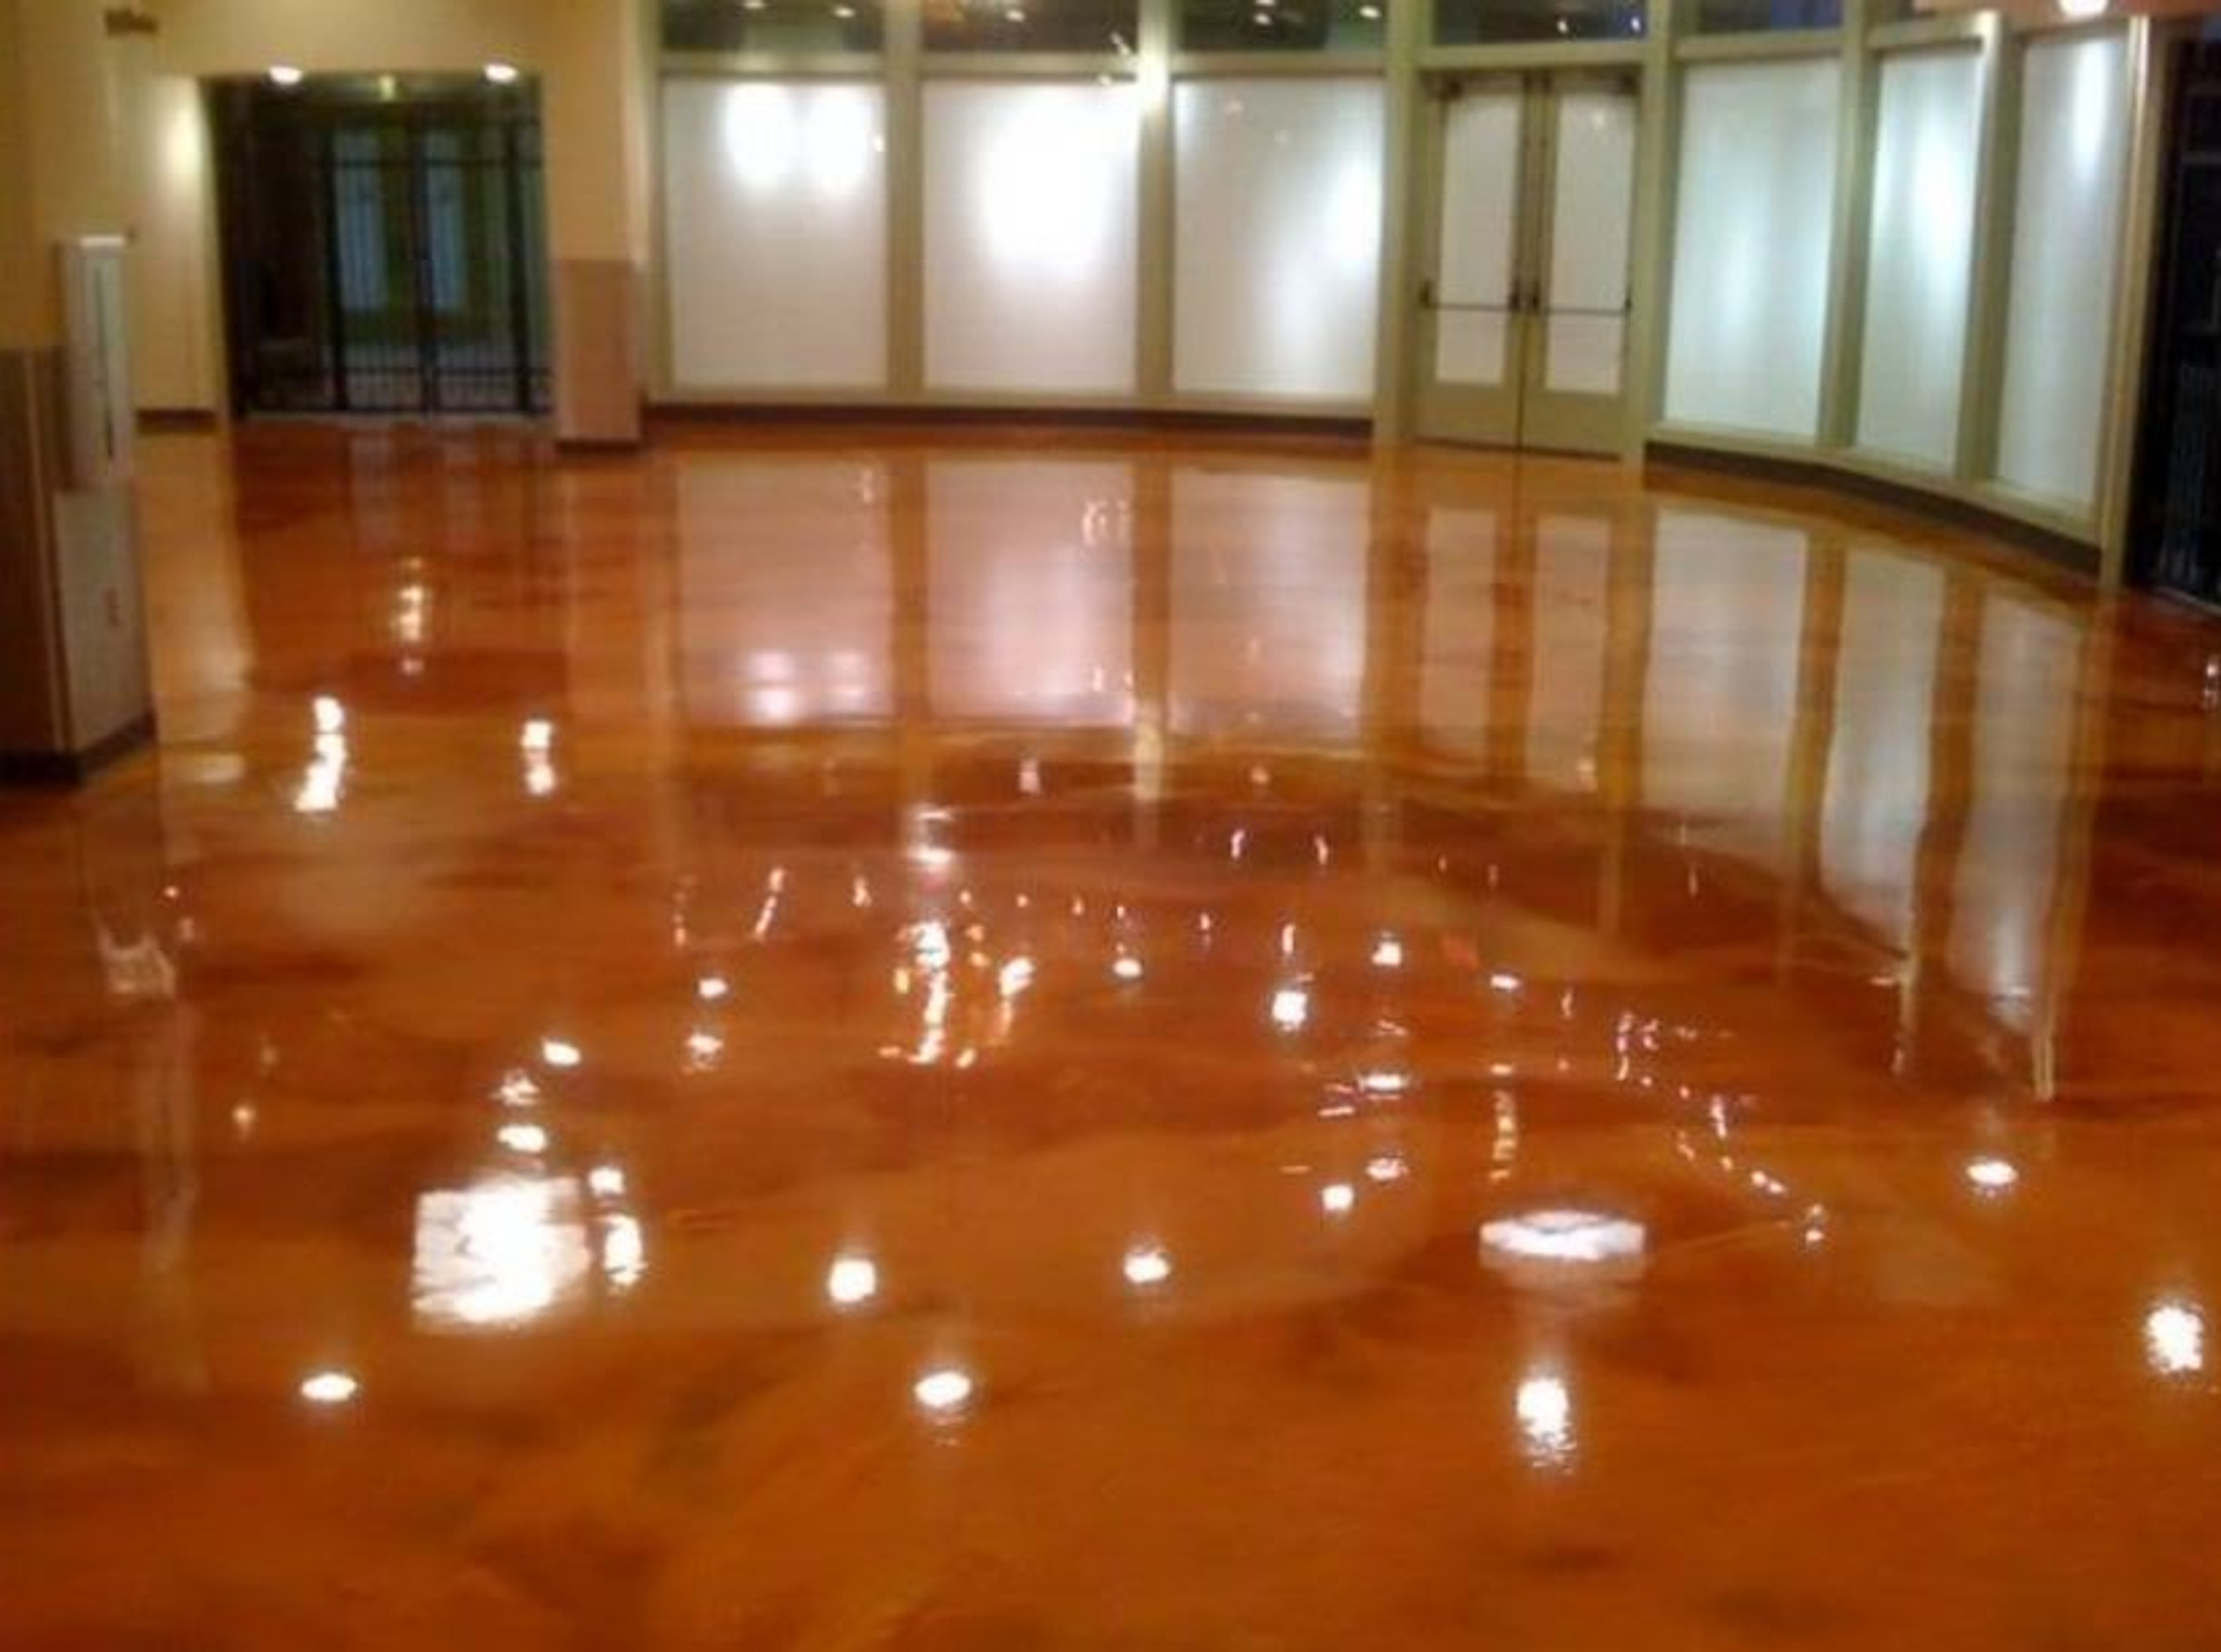
METALLIC EPOXY FLOORING
$1,599.00
What Is Garage Floor Epoxy? (And Why Some Garage Floors Fail)
Garage floor epoxy is a multi-layer resin garage floor coating that bonds to properly prepared concrete and cures into a durable, seamless surface. Unlike floor paint or thin “one-coat” kits, a true epoxy garage floor system is built to handle hot-tire pickup, road salt, oil drips, chemical spills, and daily vehicle traffic while keeping a clean, glossy finish for years.
Before you choose a garage floor epoxy kit, it helps to know what outcomes we see most often in real garages. Most installs fall into one of three groups:
The Garage Floor Epoxy That Fades Too Soon
Some garage epoxy kits look great at first, but the coating is too thin or the topcoat isn’t strong enough for tire abrasion and stains. The gloss drops, swirl marks show up, and the floor needs recoating sooner than expected.
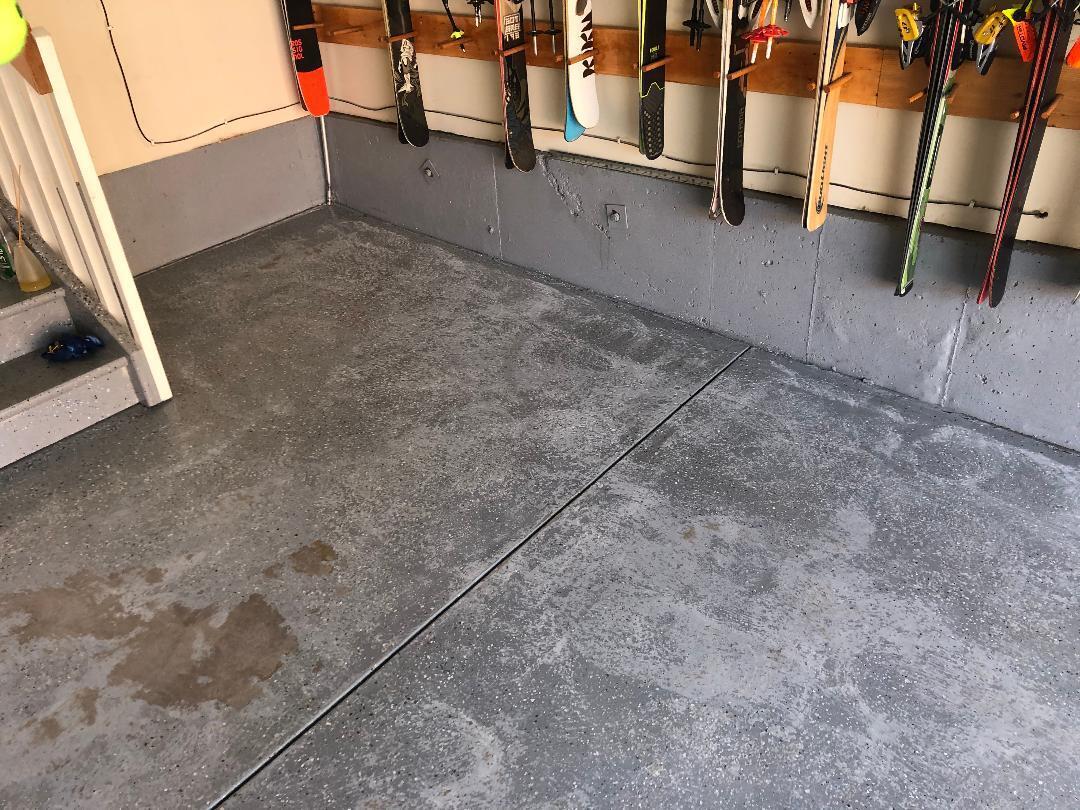
The Garage Floor Coating That Peels (Hot-Tire Lift)
This is common with thin store-bought kits or poor prep. When the concrete isn’t cleaned/profiled correctly—or the product isn’t designed for garages—hot tires can soften and lift the coating. Bare spots spread, and the only real fix is grinding and starting over.
The Epoxy Garage Floor That Stays Strong for 15–20+ Years
A heavy-duty garage floor epoxy system bonds tightly to concrete and is protected by a durable topcoat matched to your traffic and environment. With proper surface prep and the right coating build, your garage floor can stay bright, smooth, and easy to clean for many years without rework.
Quick Answer: What is garage floor epoxy? A resin-based garage floor coating that chemically bonds to concrete and cures into a tough, seamless surface designed to resist hot tires, stains, and chemicals.
Quick Answer: Why does garage floor epoxy peel? Usually from poor concrete prep (oil/dirt/moisture), thin coatings, or using a product not engineered for hot-tire pickup and garage conditions.
Quick Answer: Is epoxy garage floor DIY? Yes—when you use a complete kit and follow proper prep steps, DIY installation is straightforward and can look professional.