ArmorGarage Commercial Epoxy Flooring System
Professional-grade solid color floor coating. Complete DIY-friendly turnkey system — no experience needed, no guesswork, nothing else to buy.
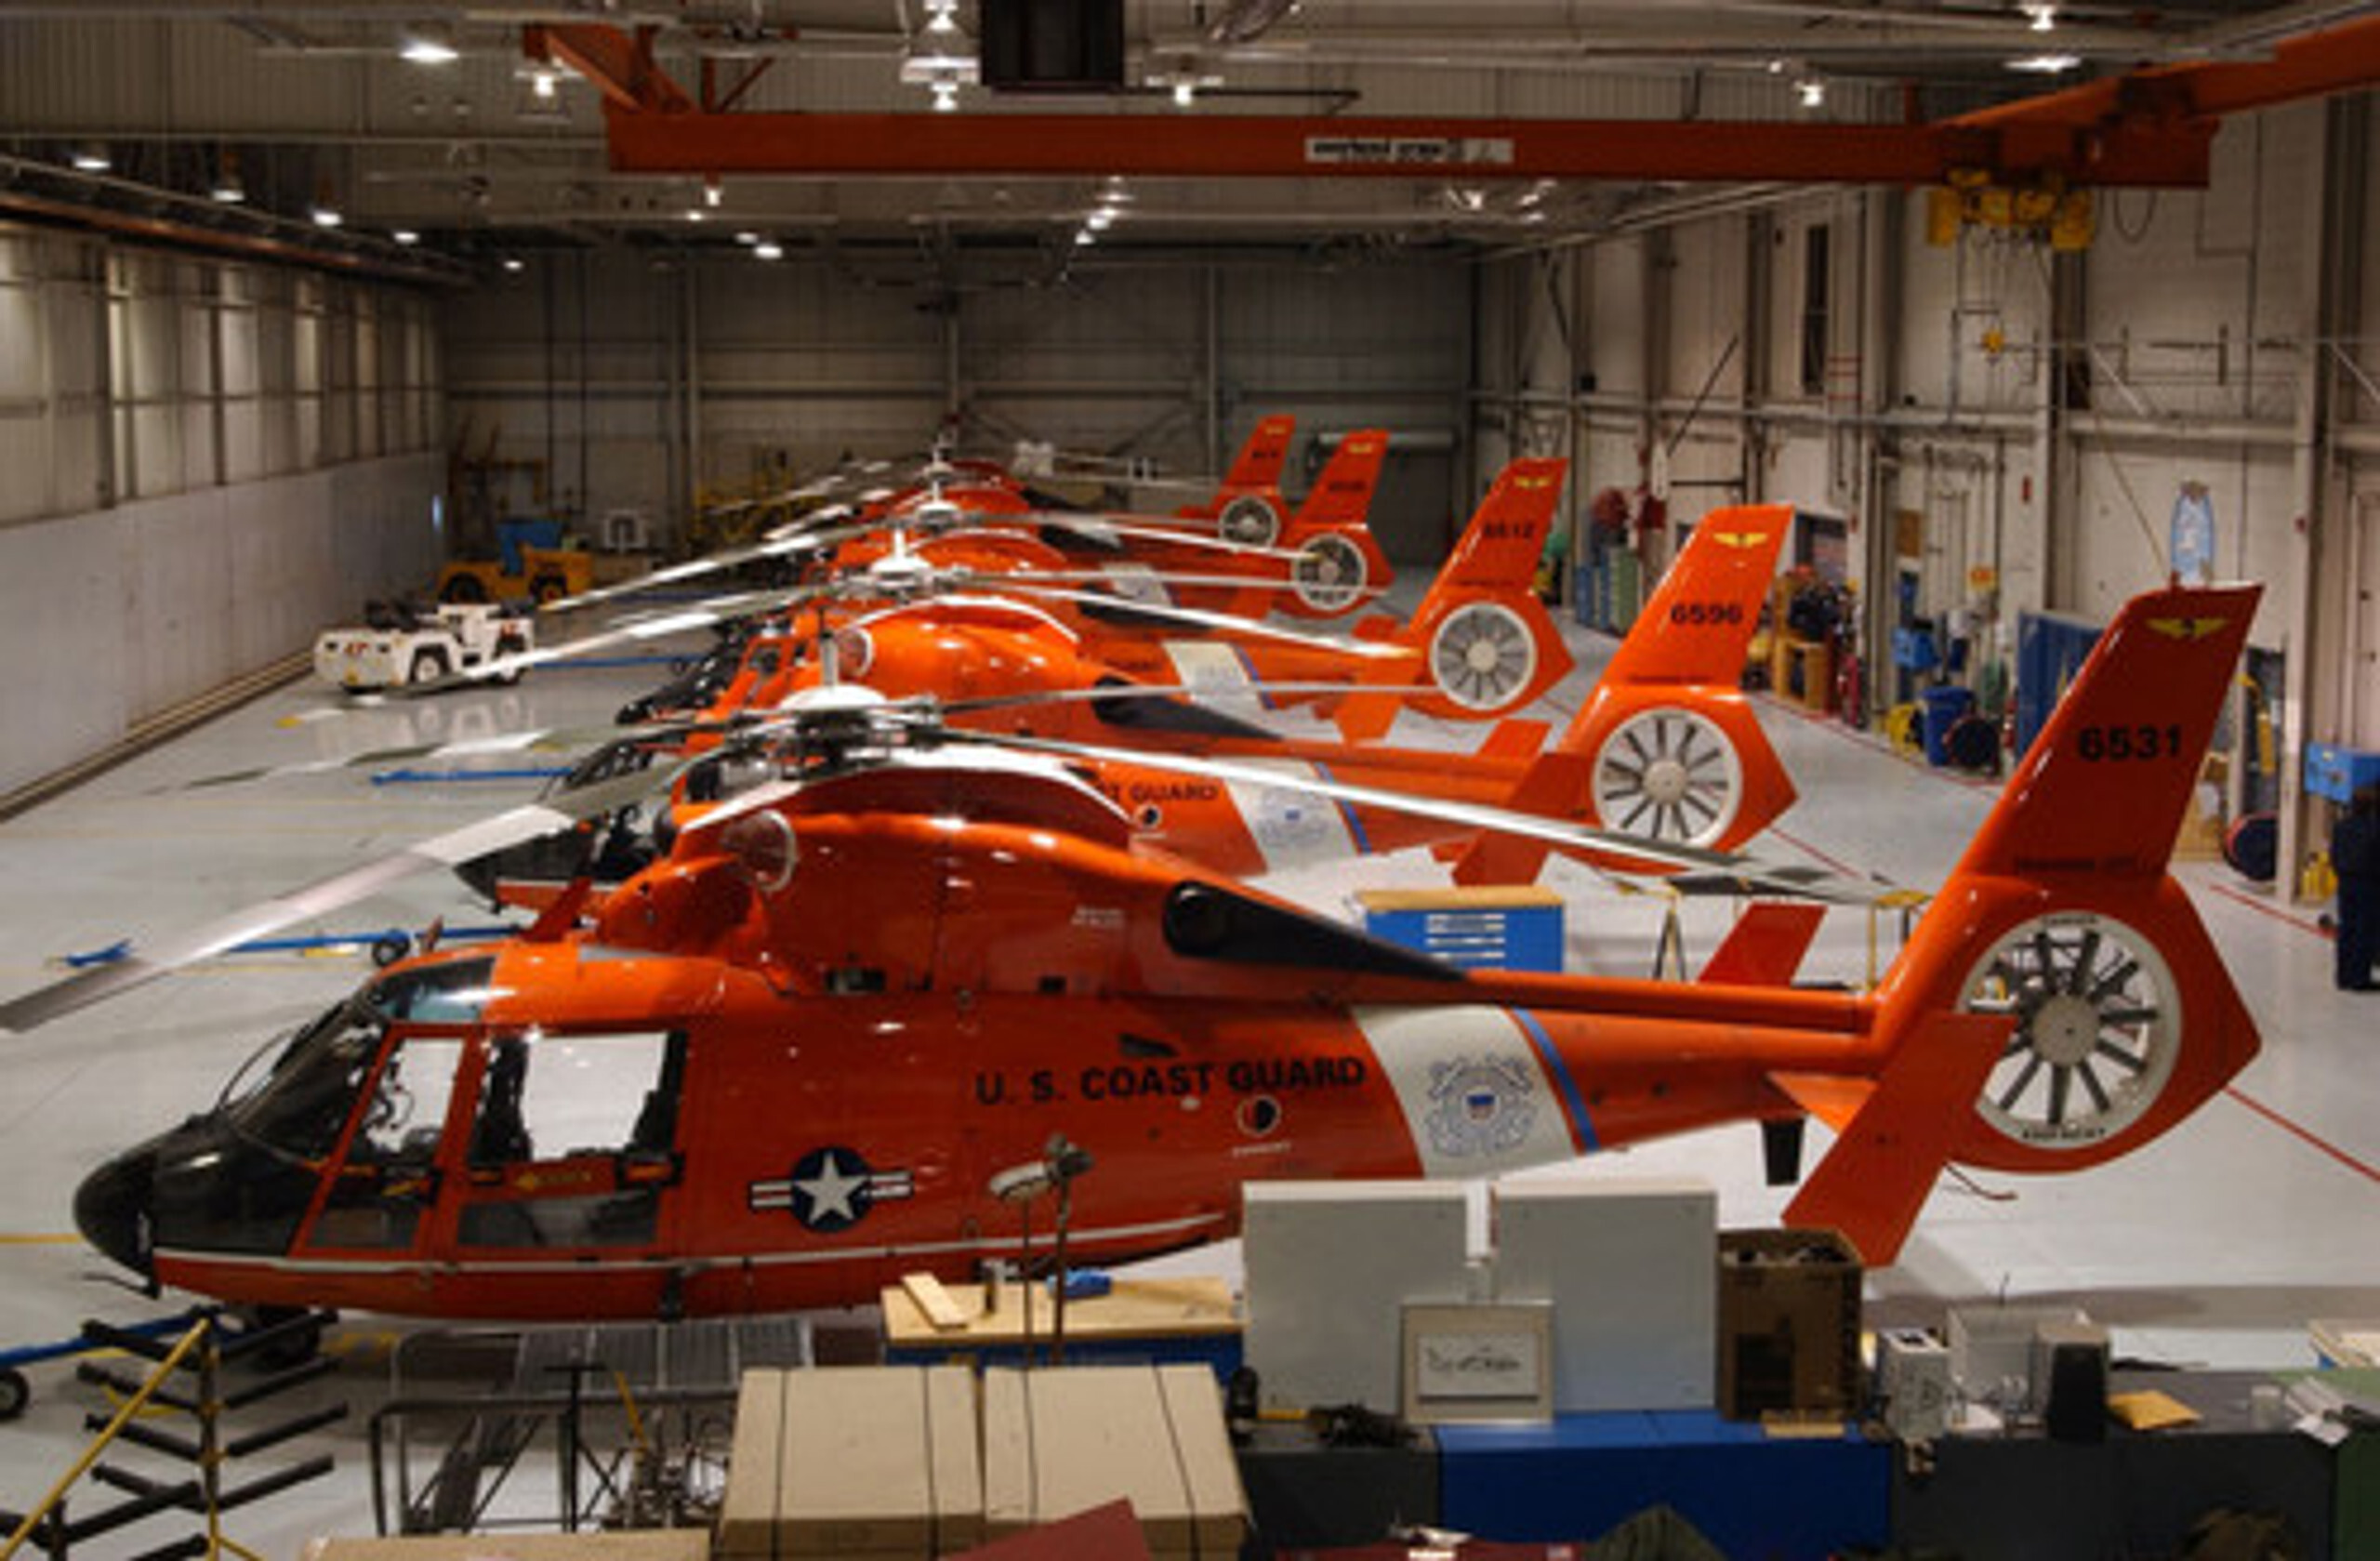
Free Shipping • U.S. Coast Guard Approved • 10–15 Year LifespanU.S. Coast Guard Approved — Used in Helicopter Air Station Hangars Nationwide
This high-gloss, extremely durable epoxy system is engineered to last 10–15 years. Rated for up to G-650 aircraft. For larger aircraft or extreme forklift traffic, use our Military-Industrial Grade System.
Everything’s Included — Nothing Else to Buy
Coating System
• Premium solids-based two-part epoxy base coat (1:1 mix)
• Ultra-high wear urethane epoxy topcoat (2:1 mix)
• Micro-tubular aluminum non-slip additive
• All materials in sufficient quantities to do the job right the first time!
Prep & Tools
• Floor prep etching solution & TSP neutralizer
• 9” lint-free epoxy rollers & mixer, mixing bucket
• Clear instructions + unlimited phone/ after-hours email support
• Free shipping included
New: ArmorGarage II Plus Version
Thicker, heavier-duty system with a 6mg abrasion rating — increased durability without stepping up to the 4mg Military/Industrial system. If unsure between systems, choose the Plus option.
Simple Ordering — Just Enter Your Square Footage
No product matching, no forms to fill out. Select your color, enter your square footage, and we ship everything in the correct quantities. We recommend adding a 10% safety factor to account for varying concrete porosity — every concrete floor is different.
Color notes: Certain colors such as white and red require an additional base coat and may increase cost per square foot. The Plus version includes an extra-thick base coat for added durability.
LOW VOC VERSIONS REQUIRED IN: CA, CT, DE, IL, IN, MD, MA, ME, NH, NJ, NY, OH, PA, RI, VA, KY, and Canada due to EPA regulations.
Minimum order: 550 sq ft. For 1,500+ sq ft see Large Format Commercial Epoxy System. Need pricing first? Request A Quote.
Why ArmorGarage Commercial Epoxy Is Better
Perfect For
Customer Result
First-time user Jim’s medium gray man cave installation:

Related Products & Resources
Industrial Flake Floor System Garage Flake Floor Kits All Epoxy Floor Coatings
Free Shipping • Complete Turnkey System • Expert Support
Ready to get started? Get expert guidance on what to order and how to apply it.
Call: (866) 532-3979 | Email: info@armorgarage.com | Request a Quote
Commercial Flooring Epoxy Application
ArmorGarage II is not like store-bought epoxy. Please read these instructions carefully for best results.
Critical: Proper Floor Preparation
Your floor preparation determines the success of your coating. A properly prepared floor ensures the epoxy forms a permanent molecular bond with the concrete.
✓ CORRECT: This is how your floor should look before coating

Notice the open, textured surface—concrete pores are clean and ready for epoxy bonding
✗ INCORRECT: If your floor looks like this, STOP and power wash/etch again!

Sealed, dirty surface will prevent proper epoxy adhesion—must be cleaned and etched
Before & After: Properly Prepared Floor

Floor grinded and etched using Home Depot floor prep machine. Oil stains cleaned with Liquid Tide and muriatic acid.
Important: If grinding your floor, still etch afterward if rinsing off grinding dust. This ensures concrete pores are clean and open for maximum epoxy bond.
Coating over existing coating? View our instructions on coating over existing epoxy. The example shows Armor Chip overlay, but the procedure is the same for any epoxy floor kit.
Grinding to Finished Product Example
Notice the grinder used below. If not using the Floor Prep Machine from Home Depot, use this type of heavy-duty grinder with new 25-grit diamond bits.


Installation Timeline
Typical 600 SF Kit Installation Time:
• 1-2 Hours: Clean & Etch
• 1-2 Hours: Epoxy Base Coat Application
• Less than 1 Hour: Topcoat Application
Step-by-Step Application
Base Coat Application:
- Mix Preparation: Mix one gallon of base coat in 1:1 ratio (or 4:1 if using Low VOC) per person rolling. For multi-person crews, designate one person for mixing.
- Pour & Distribute: Pour mixed product into individual pails for each person rolling. Mix thoroughly around the entire pail to ensure complete blending of Part A & Part B.
- Dry Time: Base coat dries in 4-6 hours. Apply topcoat when base coat is dry to the touch—should be hard and not leave a fingerprint when pressed.
Topcoat Application:
- Mix Ratio: Topcoat mixes in 2:1 ratio. Do not mix more than 1.5 gallons per person rolling.
- Add Non-Slip: After mixing Part A & Part B, gently mix in Ultrawear non-slip at one pint per 1.5 gallons of topcoat.
- Application: Use roller pan to roll out topcoat. Stir frequently to keep non-slip suspended.
- Curing Times: Topcoat dries in 6-7 hours for light traffic. Vehicle and heavier traffic requires 36-48 hours of curing.
Temperature & Weather Requirements:
• Floor temperature must be 50°F or higher during entire curing process
• Do not apply if heavy rain is forecast (light rain is acceptable)
Fast Dry Version Instructions
For the Fast Dry version, you will receive primer with 1:1 mix ratio and pigment packs:
- Add Pigment: Mix pigment packs into the Part A can until color is uniform.
- Mix Primer: Mix approximately 1 gallon of primer (1/2 gal of A & 1/2 gal of B) for each person rolling. Use measuring containers to maintain proper 1:1 mix ratio when using partial cans.
- Work Quickly: Do not mix more than you can apply in 15 minutes when using fast dry version.
- Dry Time: Allow 2-4 hours for primer to dry hard to the touch before applying topcoat. Primer should not leave a fingerprint when thumb is pressed into it.
Need Help? We're Here 7 Days a Week
If you have any questions about floor preparation or epoxy application, contact us anytime.
After hours email: support@armorgarage.com
Someone is on standby 7 days a week to help you.
Download Documentation
Answers to Commercial Epoxy Flooring FAQs
The minimum order quantity for the commercial epoxy system is 550 sf.
Can be applied over new concrete after 28 days.
Etching is required even on new floors; in fact, you must etch twice.
Etching is not required if you diamond grind
If applying over an existing coating or wood, prime first with our Special Bonding Primer.
If applying over oil-stained floors, use our Oil Primer first if unable to clean stains with muriatic acid & Liquid Tide.
Grinding is not necessary unless you cannot get the floor properly clean. See the How To Prep & Epoxy Paint Your Floor page to see what your floor should look like prior to applying an epoxy coating.
Allow base coat to dry 5-7 hrs. Test by pressing a finger into the coating. If no fingerprint is present, you're good to go with Topcoat. Do not let more than 24 hours pass between base coat and topcoat.
Topcoat should dry to the touch in 7-8 hours. Once dry to the finger test, you can walk on it and apply light traffic. Vehicle traffic should be kept off the floor for a full 24-48 hrs.
Lifespan should be 10-15 years under normal use.
ArmorGarage Commercial Epoxy is USDA-approved and can be used in food prep areas. When using in food prep areas or any other application with slippery floors, please request the white aluminum oxide nonslip. This will give you added traction over the standard nonslip.
Floor cleaning can be accomplished with a cleaner such as Simple Green. Harsh chemicals should not be needed. You can use a Magic Eraser on stubborn spots.
If the Topcoat begins to wear, you can always roll on another Topcoat. The base coat should stay indefinitely.
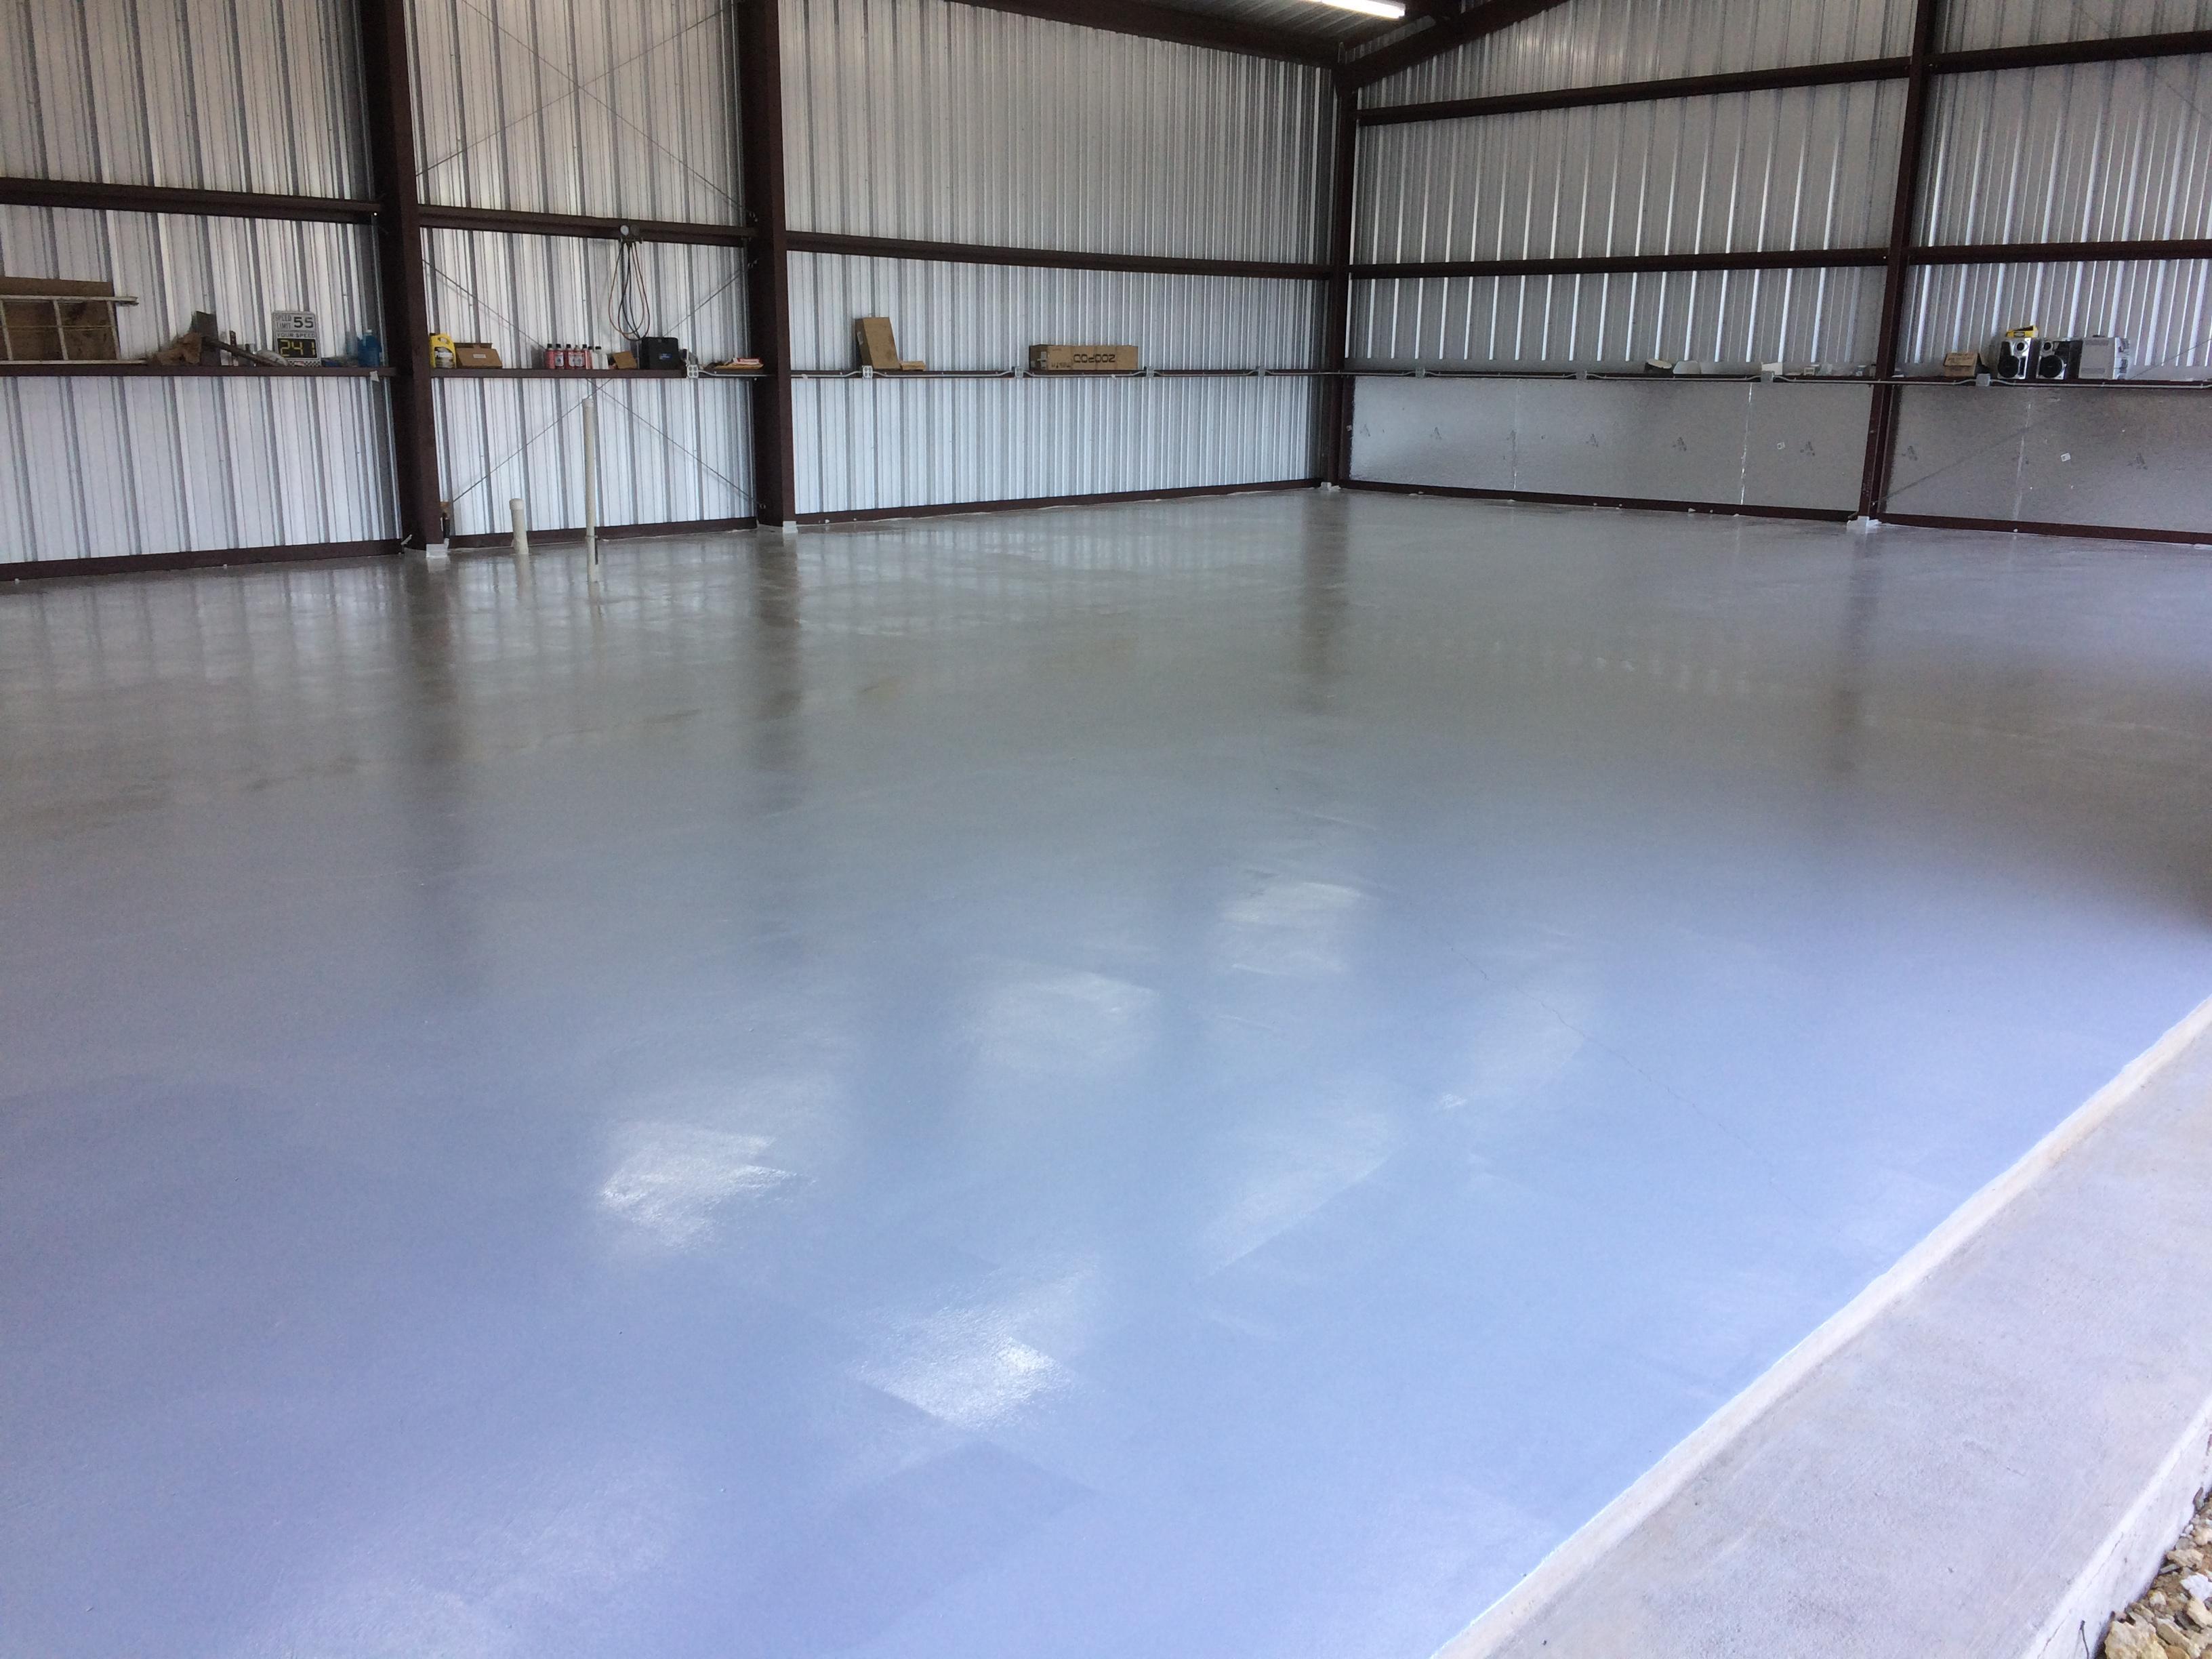
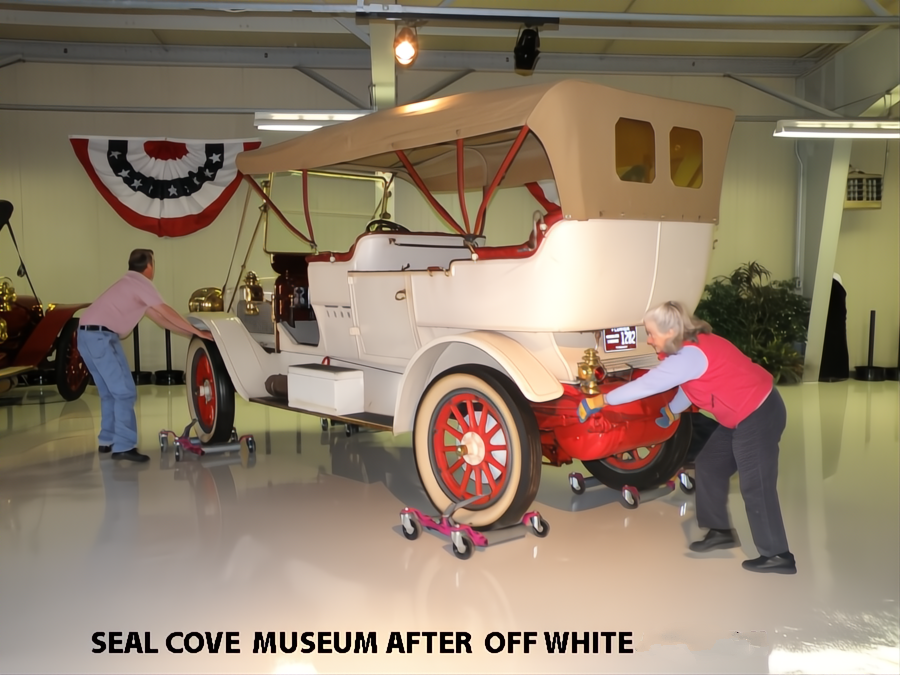
FLOOR COLOR EXAMPLES
These amazing before and after images were done with the large format system but you would get the same showroom results with the small format version. It's difficult to show how pretty off white really is with just a color swatch so we posted it here so you get a better idea of the true color.


DARK GRAY

CHARCOAL GRAY - SEE HOW THE CONTROL JOINTS ENHANCE THE LOOK OF THE FLOOR!