


VCT Tile · Linoleum · Vinyl Floor Coating
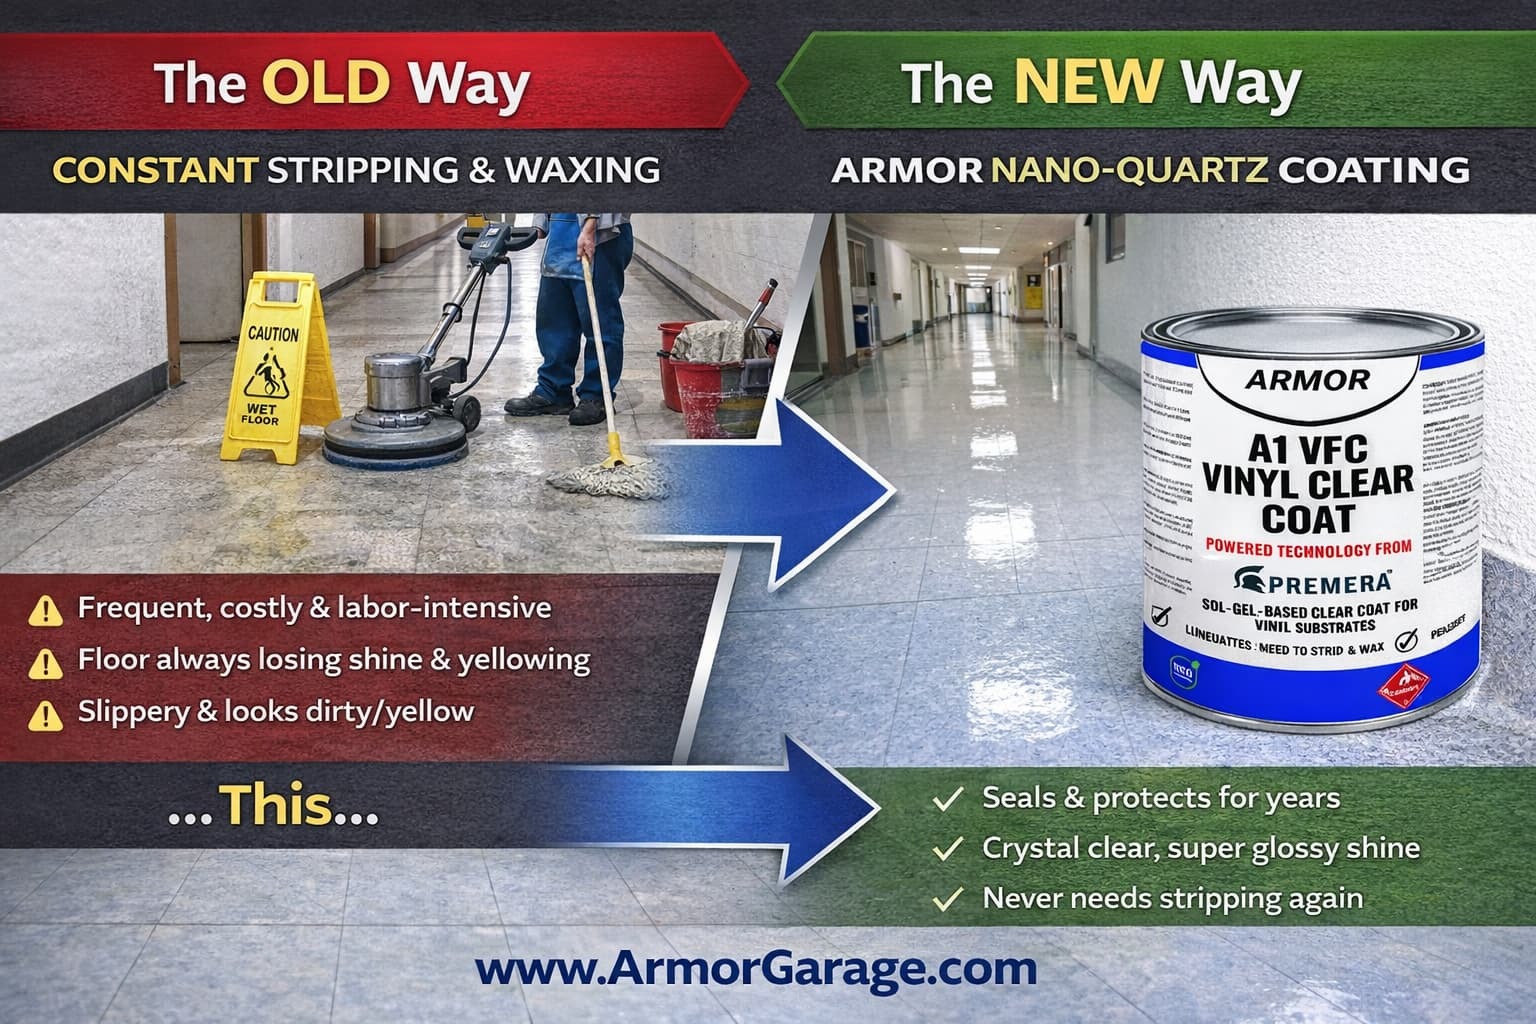
Breakthrough nano quartz clear coat that eliminates striping and waxing
FREE SHIPPING ON 2 GALLONS OR MOREThe End of Stripping & Waxing
ArmorGarage's vinyl floor coating represents a breakthrough for VCT tile, linoleum, and vinyl sheet floors. Never before has there been a clear coating that could be applied as a semi-permanent finish without peeling off or damaging the vinyl flooring underneath — which meant all VCT and vinyl floors had to be constantly stripped and waxed.
This single-component, sol-gel-derived clear liquid quartz coating forms a thin, resilient quartz layer that protects every type of vinyl flooring while adding an extremely durable, appearance-enhancing gloss finish. It delivers outstanding resistance against abrasion and chemical agents, all while preserving the lustrous look of your floors.
The transparent quartz layer's superior durability results in a significant reduction in maintenance costs. This makes it ideal for institutions with large areas of high-traffic vinyl flooring, such as hospitals, schools, and commercial facilities.
Plus, when your floor needs cleaning, it will be much easier thanks to the nanotechnology that prevents dirt and grime from sticking to and being ground into your porous flooring. No more wax.
Application & Product Details
Single component, sol-gel based — easy spray-on application using an acetone-resistant pump sprayer. No mixing of multiple components required. Simply spray and let the quartz layer form a clear, protective coating that enhances your floor's appearance. See the Application Instructions Tab for full details on how to apply.
Increases the level of protection against abrasion and chemicals compared to traditional waxes and coatings. This is particularly important for commercial or high-traffic areas subjected to heavy wear and tear.
Only one coat is needed. To order the sprayer, add 1 gallon with sprayer to your cart, then keep shopping and order any additional gallons without the sprayer. For large projects, order two gallons with the sprayer option.
Please note: This product is not returnable and is not available in California due to shipping restrictions.
VCT & Vinyl Floor Coating — Questions We Get Asked Most
Straight answers from the manufacturer before you order.
How is this different from floor wax or acrylic floor finish?
+
Wax and acrylic finish are sacrificial layers — they scuff, yellow and wear through, so they have to be stripped and reapplied over and over. ArmorGarage Vinyl Coat is a single-component, sol-gel nano quartz coating that cures into a thin, resilient layer of quartz on the floor. It's scratch, impact and caustic chemical resistant, and roughly five times stronger than traditional floor wax, which is what ends the strip-and-rewax cycle.
Until now there wasn't a clear coating that could go on vinyl as a semi-permanent finish without peeling or damaging the flooring underneath. This is that coating.
Do I have to strip the floor before applying it?
+
Usually not. The coating goes over a good-quality acrylic emulsion wax that's in sound condition, so an existing floor with a decent finish only needs to be cleaned of oils, dirt and scuff marks, then burnished to the shine you want before coating. Strip only if the existing finish is in bad shape — heavily scratched, yellowed or peeling — because any mark left underneath will show through the clear coat.
Either way, re-glue any loose tiles or lifted sheet vinyl first, and spray a test patch in an inconspicuous spot to confirm the coating doesn't react with your particular wax.
Can I apply it directly to brand-new VCT or vinyl?
+
Not bare. New vinyl needs a base first: apply a good-quality acrylic emulsion wax, burnish it to the shine you want, then spray Armor Vinyl Coat over it. That base layer is what the quartz coating locks onto, and it's the last wax you'll put down. Once the quartz layer is on, the floor is finished — no more stripping or rewaxing.
Can I roll or mop it on, or does it have to be sprayed?
+
Spray only. The coating has to go on thin and even — "thin to win" — and a roller or mop applies far too much, which causes surface tension, bubbles and delamination. Use an acetone-resistant pump sprayer with a red fan tip (a garden sprayer will not survive the product); hold the tip square to the floor 10–12 inches up and work in a smooth circular motion at steady pressure. Hooking a compressor to the sprayer's valve stem at 25–30 PSI gives the most even flow.
Add the sprayer to your first gallon at checkout, and spray a couple of mock-ups before you start the real floor to get the feel of it.
How much does a gallon cover, and how many coats do I need?
+
About 650 square feet per gallon, and only one coat. Don't apply a second coat unless there's a flaw in the first — if you do need one, wait 24 hours for full cure, abrade the surface with 400-grit paper or a green pad on a buffer so the new coat bonds, clean off the dust, and spray it the same way.
Shipping is free on two gallons or more, and projects of 5,000 square feet and up qualify for quote pricing.
How soon can people walk on it?
+
Light foot traffic in as little as five hours; let it cure overnight before carts, beds, wheelchairs or heavy traffic. That timing is what lets hospitals, schools and offices coat a corridor after hours and have it open by the morning shift.
How do you clean and maintain the floor afterward?
+
Plain water for routine cleaning; Simple Green or an equivalent for very dirty floors. The nano quartz surface is nonstick, so dirt and grime sit on top instead of being ground into the vinyl, and the coating is resistant to caustic cleaners if your facility uses them. No buffing, no burnishing, no finish to reapply.
What if the coating gets scratched or damaged?
+
Spot repair it — no need to redo the room. Sand the damaged area with 400-grit sandpaper, clean off the dust, and thinly brush on a little coating. Because the finish is clear and goes on thin, a repair blends in without a visible patch line, which is a big advantage over waxed floors where a scuff repair means stripping and refinishing the whole section.
Do I need a respirator or ventilation to apply it?
+
Yes. This is a solvent-based sprayed coating, so the applicator needs OSHA-approved respiratory protection, chemical splash goggles and butyl rubber gloves, and the area needs fresh air and exhaust while spraying. When coating enclosed rooms, OSHA rules call for a second person to observe the applicator. Plan to spray after hours with the space cleared, and it's back to normal use once cured. Full details are in the SDS linked on this page.
SURFACE PREPARATION
Before applying Armor Vinyl Coat, make sure that the areas to be coated are completely clean of oils, dirt, scuff marks by using an approved cleaner. Make sure any loose tiles or sheet vinyl are re-glued, and in sound condition. Any visible marks or dirt not cleaned prior to application will show through coating.
NEW VINYL FLOORS
New vinyl floors must be coated with a good quality acrylic emulsion wax that is burnished to desired shine as a base prior to applying the Armor Vinyl Coat. Any visible marks or dirt not cleaned prior to the application will show through our coating. Must ensure Armor Vinyl Coat does not negatively react or emulsify acrylic wax.
EXISTING VINYL FLOORS
Existing vinyl floors do not need to be stripped unless they are in bad condition. The existing floor should have a good quality acrylic emulsion wax as a base that is in good condition. Burnish/Buff the last coat to the desired shine before applying the Armor Vinyl Coat. Ensure Armor Vinyl Coat does not negatively react or emulsify acrylic emulsions. Any visible marks or dirt not cleaned prior to the application will show through coating.
APPLICATION
Make sure to sample Armor Vinyl Coat in an inconspicuous location before applying to entire area to ensure desired results are achieved. Once surface has been properly cleaned and prepared, mask off any adjacent surfaces to avoid accidental coating. Inspect and clean one more time to make certain no contaminates got on floor after masking. Stir the contents gently to resuspend the nano quartz particles that have settled to the bottom. Make certain these materials get completely mixed into the container.
Once contents are gently stirred in the container to resuspend the nano quartz particles that have settled to the bottom pour into Acetone Resistant Hand Pump Sprayer. Product must be sprayed on and sprayer must be acetone resistant, DO NOt Use A Garden Type Sprayer. Order sprayer with product or purchase separately. Using an acetone/alcohol proof pump sprayer or equivalent, install a red fan tip on the wand, as this provides the most even application. It is recommended to keep an even amount of pressure while spraying in order to keep a consistent look. Be sure to keep the pressure as close toa constant pressure as possible, do not let tank pressure to get too low before repumping up the pressure.
A compressor and air hose with a quick release can be connected to the valve stem on the acetone proof pump sprayer to supply the sprayer with a constant 25-30 PSI. This will provide an even flow and finish.
To start spraying, hold the tip square to the surface being coated at a distance of 10″ to 12” off the floor. In a separate container, begin spraying into the container to avoid initial spitting of product on the floor caused from air trapped in the spray wand. When you stop spraying, also stop the flow in the separate container, as spray wands often drip a few drops after handle is released. You want to provide even distribution of the coating, so a smooth circular motion should provide proper coverage.
This product should go on thin, never allow puddling. It is always best to spray on a few mockups to get the feel of applying this product before attempting an actual project. Be careful not to apply too thick (THIN TO WIN) or allow the product to puddle, as this will cause too much surface tension and possible bubbles or delamination.
Coating can dry in as little as 5 hours for light foot traffic. Allow to cure overnight for heavy traffic.
Do not apply a second coat unless there is a flaw in your application of the first coat. If a second coat is necessary, wait 24 hours for the surface to fully cure. Then abrade the surface with 400 grit sandpaper or a green pad on a floor buffing machine to ensure the second coat to bonds. Clean floor of dust and reapply same as first coat.
CAUTIONS
Always wear OSHA approved 1910.134 and ANSI Z88 2 Respiratory protection. Fresh air and exhaust are required in the work
area. If inhaled, remove affected person to fresh air. Call physician immediately if physical difficulties occur. Wear butyl- rubber
gloves and skin protection to avoid contact. In the event of contact with skin, wash skin thoroughly with soap and water.
Chemical safety goggles or splash shields are required. Do not wear contacts without eye protection. Immediately flush eyes with
water for 15 minutes after contact and get medical attention. If accidentally swallowed, rinse mouth thoroughly and obtain
immediate medical attention. OSHA rules dictate an observer should monitor applicator for any signs of physical distress when
applying coatings in enclosed areas.