


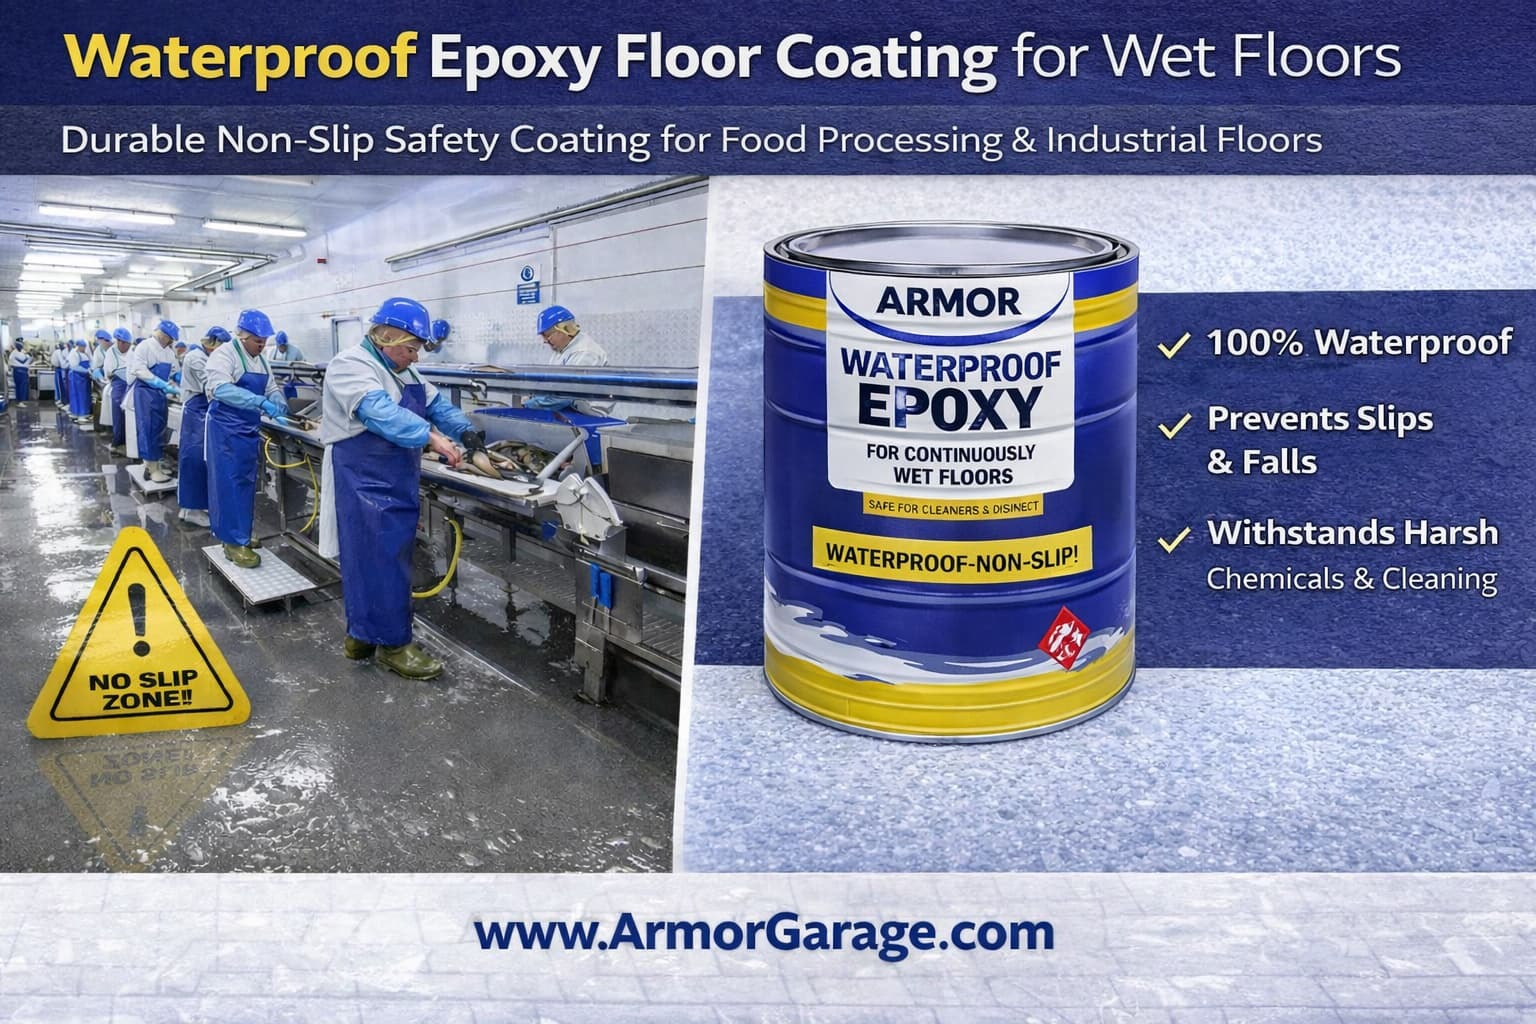
Waterproof Epoxy Floor Coating For Grow Rooms & Continuously Wet Floors
The industrial epoxy for floors that are never dry — cannabis cultivation rooms, car washes, meat and seafood processing, and marine environments. It bonds to damp concrete and stays bonded, where standard epoxy lifts in months.
Self-Priming on Steel & ConcreteEPA & USDA CompliantNon-Slip Additive IncludedWhy Standard Epoxy Fails On Wet Slabs
A cannabis grow room runs at 50–80% humidity around the clock with irrigation runoff, nutrient spills, and daily washdowns on the floor. A meat, seafood, or car wash floor is constantly wet and constantly washed down with hot caustic chemicals. Different buildings, same slab condition: concrete that is never dry.
That destroys any standard floor epoxy no matter how hard it is. Tiny fissures open in the surface from constant moisture, thermal cycling, and cleaning chemicals. Water works down through them to the concrete. Once it reaches the slab, vapor pressure and efflorescence push back up through the coating, and the floor delaminates.
In a licensed cultivation or food facility that isn't just a wasted coating. It is an unsanitary floor, a failed inspection, and the downtime to grind everything off before you can start over.
You must use an epoxy designed for continuously wet concrete. ArmorGarage Wet Floor Epoxy is formulated to solve this exact problem. Standard products, including our own dry-floor systems, are not engineered for it and will fail.
Applies directly to wet and damp floors. In a grow room or processing plant, getting a slab completely dry means shutting the room down for days. This coating bonds to damp and wet concrete, so the drying wait is eliminated entirely.
Cannabis Grow Room & Cultivation Flooring
Grow rooms don't wear floors out. They drown them. Cart and rolling-bench traffic is light duty next to a warehouse. What fails a cultivation floor is moisture: constant high humidity, fertigation runoff, foliar overspray, and washdown, usually on a slab-on-grade that is already carrying vapor from the ground below. Heavy forklift-rated epoxy solves a load problem grow rooms don't have and does nothing for the moisture problem they do. This is the system we specify for veg, flower, mother, clone, and fertigation rooms.
- Bonds to a damp slab and stays bonded. The same tolerance that lets it go down on a wet floor keeps it attached under the humidity the room runs at in service.
- Bright White and Light Gray. A reflective floor returns more of your lighting to the lower canopy, and light colors show algae, spills, and contamination instead of hiding them.
- Non-slip additive ships with every gallon. Wet grow rooms are a slip hazard. Mix it into the product. Note: Mix into second coat if applying a second coat.
- Spread heavier for bench rooms. Standard is one coat at 150 sf/gal. For rolling benches and nutrient stations, apply at 100 sf/gal in one coat.
- Zero odor, 100% solids. Coat one room while the rooms next to it stay in production.
- Add the Cove Base Kit. Turns the room into a sealed, radiused tub with no floor-to-wall corner, which is what state inspectors look for in a washdown room.
Extraction and solvent rooms are a different floor. Butane, ethanol, and terpenes need a Novolac resin. Use our Acid Shield Novolac Epoxy there. For the room-by-room breakdown of a full facility, see our Cannabis Facilities flooring guide.
Ideal Applications
Also works in troughs, concrete or steel basins, and on ferrous machinery — anywhere continuous moisture and chemical exposure destroys standard coatings.
Coverage & Specifications
- Adjustable thickness — apply anywhere between 100-150 sf/gal to match the traffic and application in the room
- Light traffic in 12 hours, full service in 24 hours
- Available colors: Bright White, Light Gray, Medium Gray, Dark Gray. 4-gallon sets available for orders of 30 gallons or more
- Can be applied over existing coatings that are sanded clean and roughed up
- Chemical resistant - holds up to hot caustic washdowns, sanitizers, nutrient solutions and pH adjusters, food oils, blood, and processing chemicals
Non-Slip Finish Options
Option 1 — Non-Slip Additive
Mix the provided Heavy-Duty Non-Slip additive directly into the epoxy second coat before application. Easiest method — no extra steps.
Option 2 — Broadcast Sand
Broadcast coarse sand to rejection into the first coat. Let dry, sweep up all loose sand, then apply the second coat. Note: coverage on second coat may be slightly reduced — order a little extra to be safe.
Cove Base Option
Add our Cove Base Kit to create a seamless radiused floor-to-wall transition. The epoxy coats across the floor and up the wall, forming a completely waterproof tub for easy pressure washing.
This eliminates the 90-degree floor/wall angle where bacteria and contaminants accumulate — essential for code-compliant grow rooms, food processing, and washdown environments.
Easy DIY application — applied with roller or brush by in-house maintenance staff. No experience needed for professional results. No contractor required.
Wet Floor Epoxy Questions
Can epoxy be applied to a damp concrete floor?
Standard epoxy cannot; it will blister and delaminate. This product is formulated to bond to damp and wet concrete and can be applied without drying the slab first.
Is this the right epoxy for a cannabis grow room?
Yes. Cultivation rooms fail floors through constant humidity and slab vapor, not through wear, so moisture tolerance matters more than hardness. This is the system we recommend for grow, veg, flower, and fertigation rooms. Extraction labs use our Acid Shield Novolac instead.
How thick should a grow room floor be?
One coat at 16 mils covers most rooms. For rolling benches, nutrient mixing stations, or heavy cart traffic, spread at 100 sf/gal for thicker finish.
Do I need a primer?
No. The coating is self-priming on prepared concrete and steel. Diamond grind or acid etch the floor, rinse, and apply the first coat directly.
Why not a urethane cement floor?
Urethane cement is what flooring contractors trowel into grow rooms because it tolerates moisture vapor. It also costs several times what a coating does and requires a crew. This epoxy addresses the same failure mode as a roll-on coating your own staff can apply.
Planning a full cannabis facility? See the room-by-room lineup on our Cannabis Facilities page.
Dry floor in a food or beverage facility? See our Commercial Kitchen & Food Processing Epoxy System.
Do It Right The First Time With ArmorGarage!
Need guidance or volume pricing for your project? Get expert support from start to finish.
Talk To An Expert
866-532-3979
Email Us
info@armorgarage.com
Application Instructions
Surface Preparation
Clean the floor by diamond grinding or muriatic acid wash to remove any oils or grease. Rinse the floor clean after acid washing.
The floor can be wet during application — no need to wait for it to dry completely before coating.
Mix & Apply First Coat
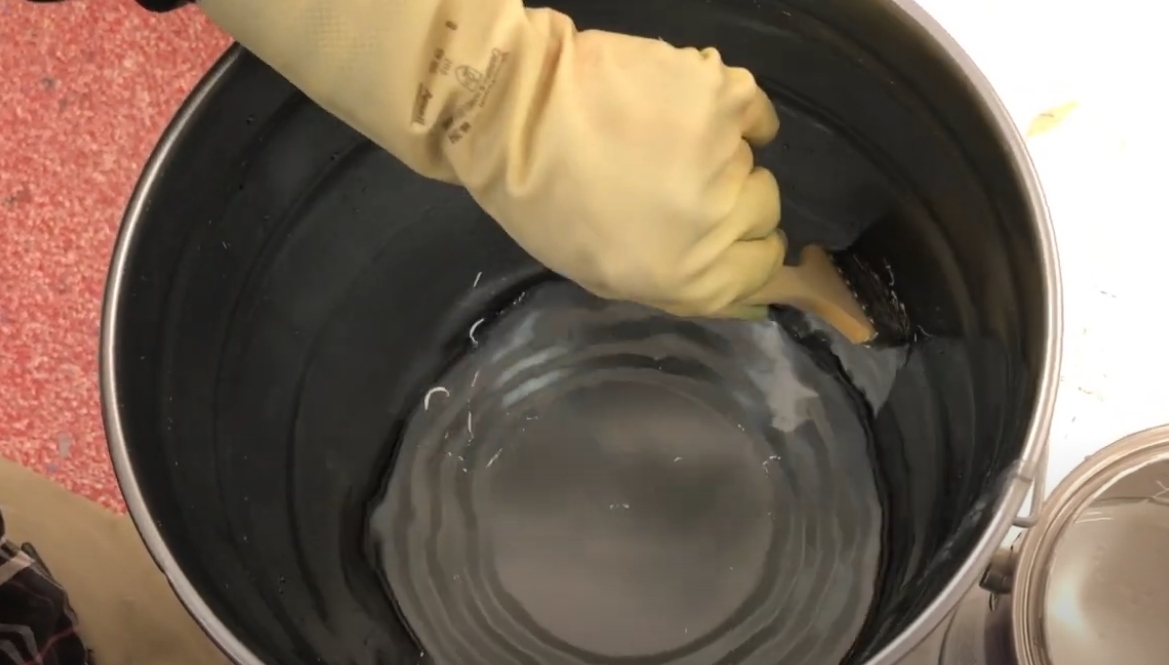
Mix Part A and Part B at a 3:1 ratio. Pour in a bead from left to right and apply with a phenolic core roller.
Pot life is 30 minutes. This is NOT a water-based product — do not mix more than you can apply in approximately 20 minutes. Work in manageable batches.
Wait for First Coat to Cure
Allow the first coat to dry for approximately 4–5 hours until dry to the touch. The first coat must be completely tack-free before applying an optional second coat if needed for pitted or rough textured floors or desired for extra thickness. If not applying a second coat skip step 4.
If Applying Second Coat
Apply the second coat perpendicular to the direction of the first coat where possible for the most uniform finish.
Finish note: The finish may have slightly uneven gloss depending on application method and conditions. This is a cosmetic characteristic only and will not affect the performance or durability of the coating.
Non-Slip Additive
If using non-slip additive, mix in one pint per gallon after Part A and Part B have been combined and mixed. Mix into second coat if using.
Keep mixing continuously while applying to prevent the non-slip aggregate from settling to the bottom. Use a roller pan when applying with non-slip additive.
Cure & Return to Service
Allow the coating to dry overnight. The floor can be returned to full service the next day.
Related Products

